Alerting and Notifications Plugins
a9s LogMe2 has both alerting and notification capabilities, which are enabled through OpenSearch's alertingDashboards
and notificationsDashboards plugins. These functions are quite useful for monitoring your applications or services.
- While the alerting and notification functions work together, they are configured separately.
- It is possible to set alerts without a notification channel, but this will cause the alerts from that specific trigger to only show up in the Dashboard.
Required Indices
- Since the
alertingDashboardsandnotificationsDashboardsplugins are enabled by default, the following indices are hard requirements and cannot/ should not be removed:.opendistro-alerting-alerts.opendistro-alerting-alert-history-*.opendistro-alerting-config.opendistro-alerting-alert-history-write.opensearch-notifications-config
Creating a Notification Channel
a9s LogMe2, through OpenSearch Dashboards, has notifications enabled through channels (formerly known as destinations), all that is needed is to set them up. The following example shows how to create a notification channel for Slack.
- Open the URL in a browser and then authenticate on the OpenSearch Dashboards login page with your Service Key credentials:
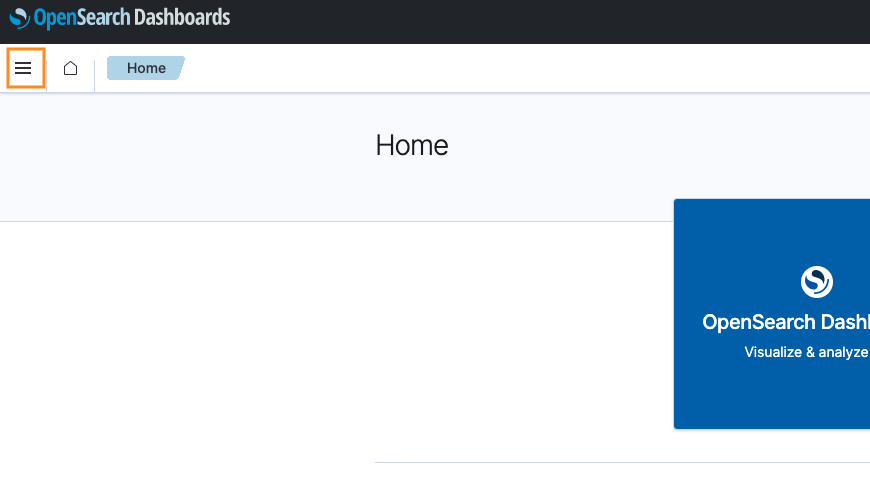
- Open the dashboard menu.
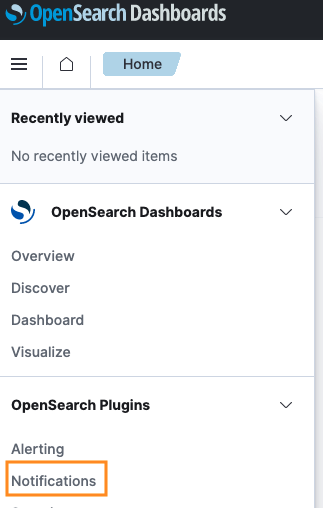
- Click on the Notifications tab.
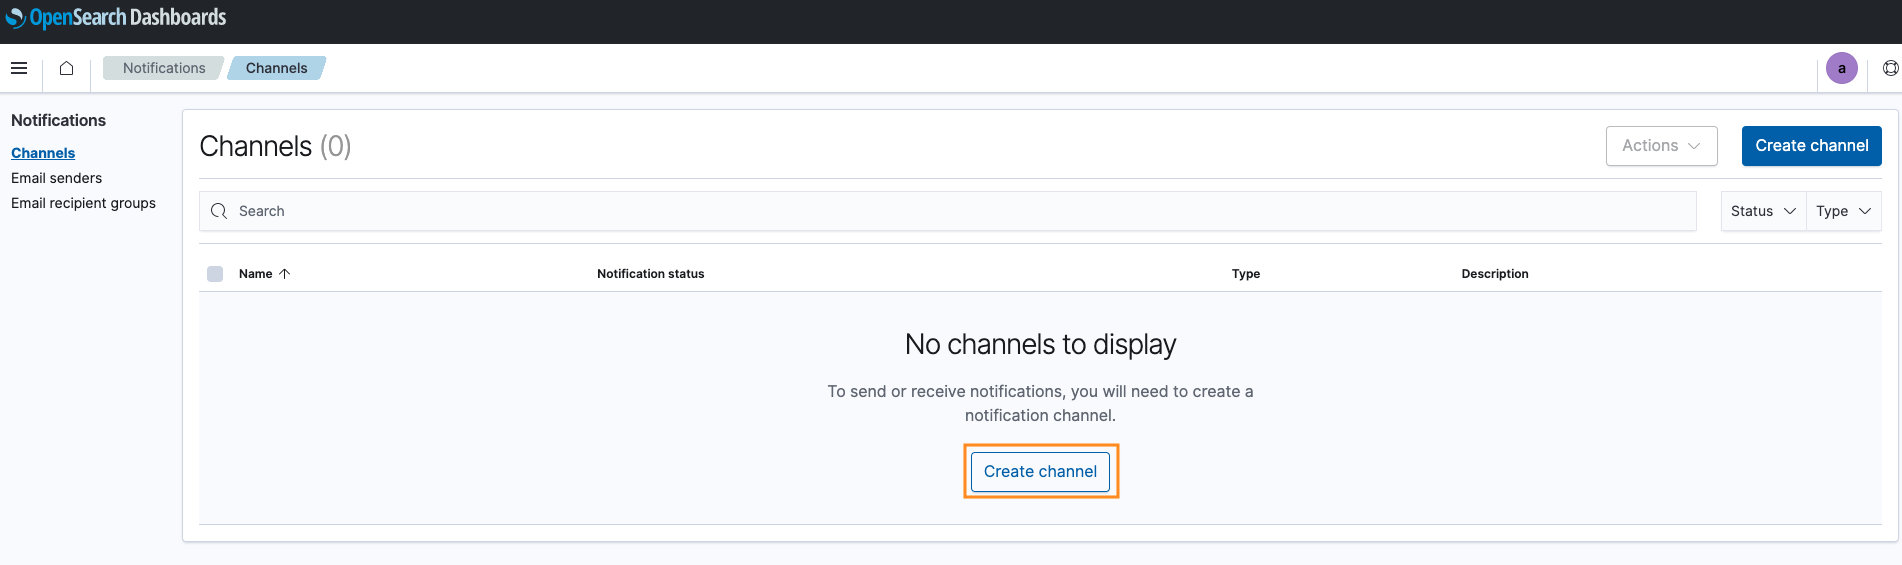
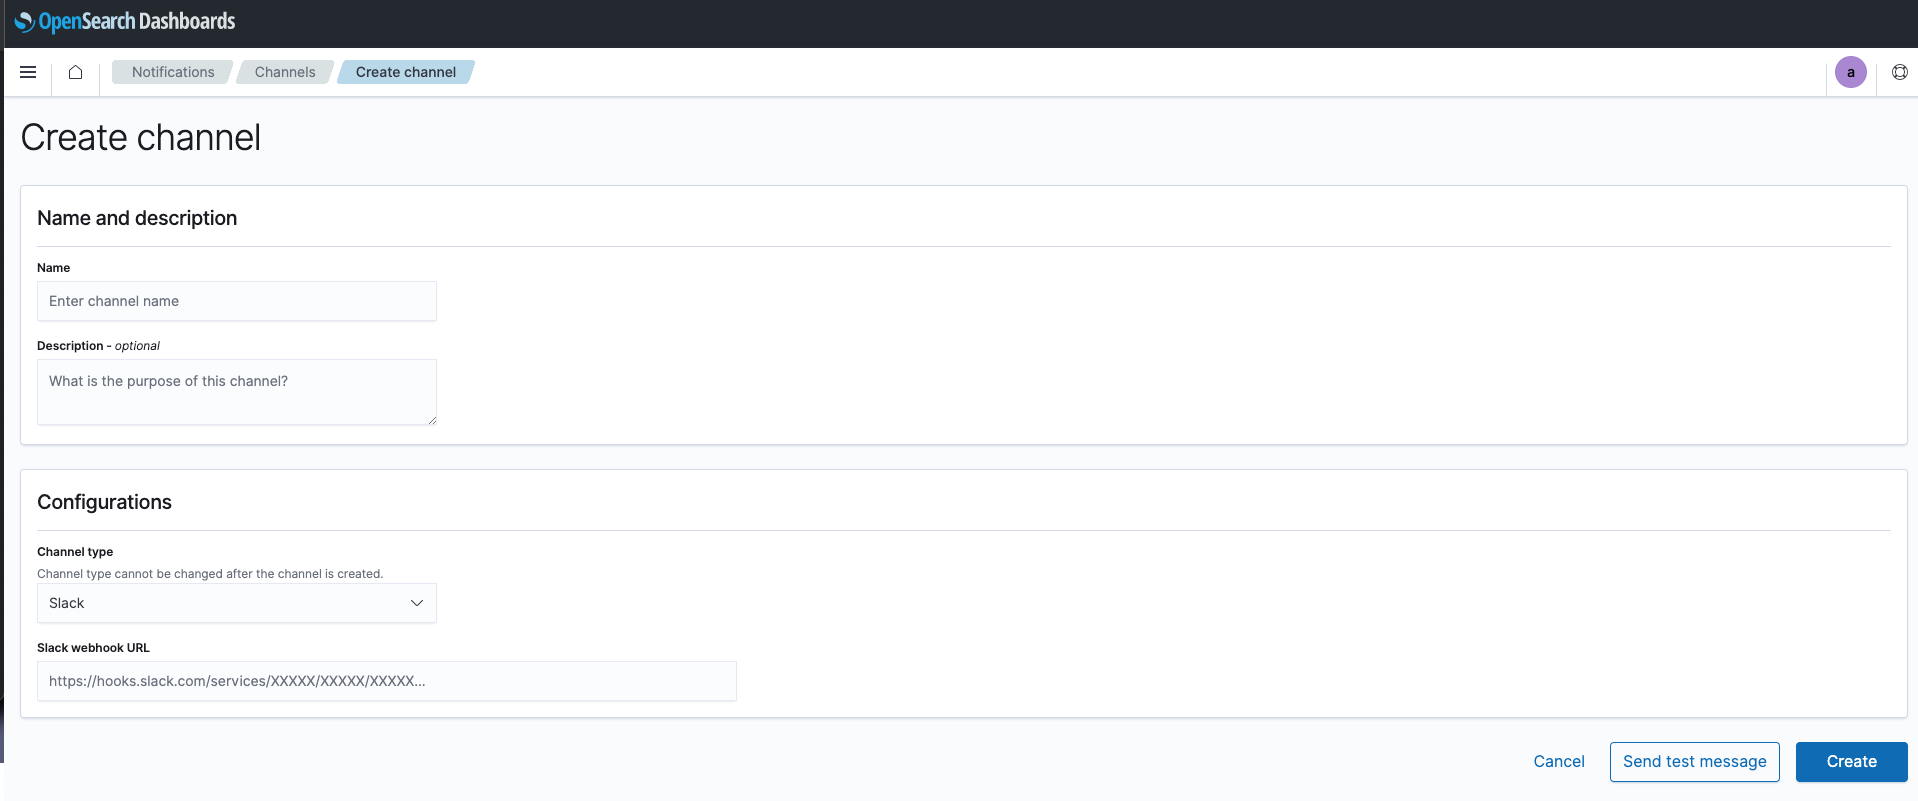
- Once in the channel's page, click create channel
- Fill in the necessary information for the channel. To learn more about Slack's webhooks, please see here
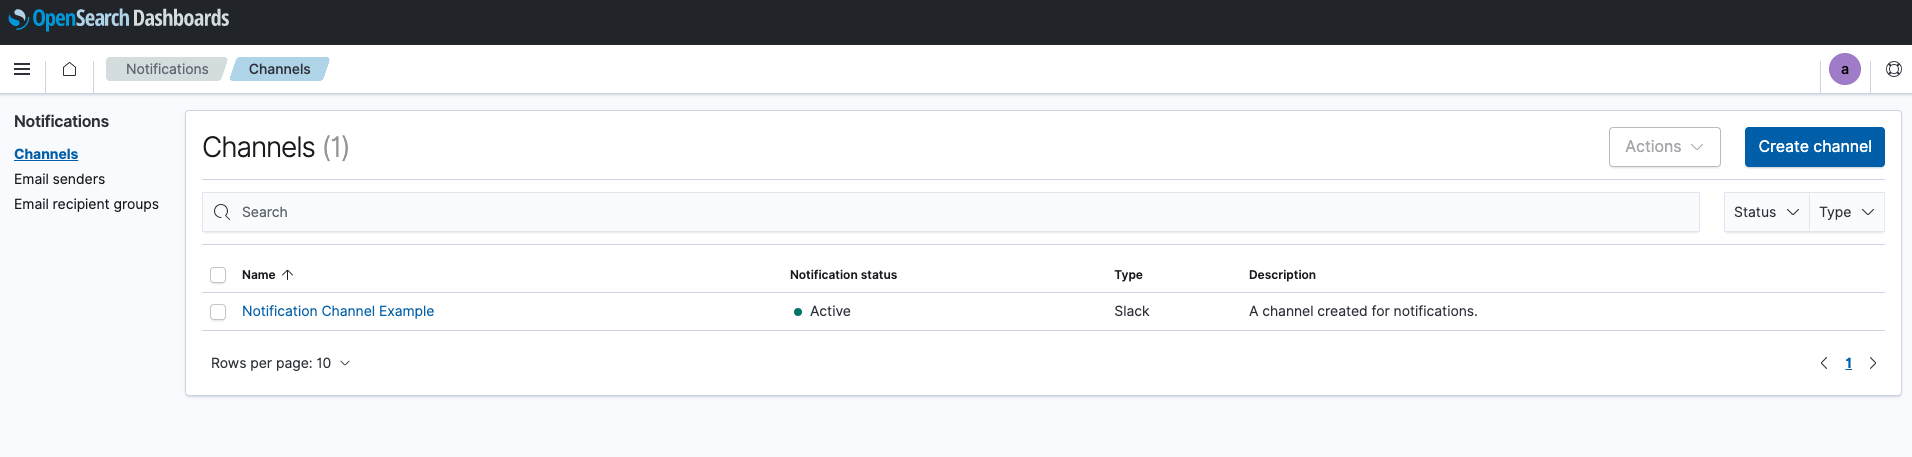
- The newly created channel should now appear on the channels' page
While OpenSearch offers multiple channel types, a9s LogMe2 is currently limited to the following notification channels:
- Slack
- Custom Webhook
- SMTP (E-Mail)
For more details on other channels, please see OpenSearch Notifications.
Furthermore, depending on what your custom webhook expects in the message's body, it is possible that your test message may fail. However, the message sent by the Alert (which is the actual message sent over the Notifications Channel) can be modified to fit said requirements.
For example, when using a Microsoft Team's incoming webhook it is expected/required for the body to contain the
text parameter, thus the message on the Monitor's alert (see here) can be simply
modified as shown below:
Body
{
  "text": "
  Monitor {{ctx.monitor.name}} just entered alert status. Please investigate the issue.
  - Trigger: {{ctx.trigger.name}}
  - Severity: {{ctx.trigger.severity}}
  - Period start: {{ctx.periodStart}}
  - Period end: {{ctx.periodEnd}}
  "
}
Creating an Alert (Monitor)
You can set up alerts in the OpenSearch Dashboards of your a9s LogMe2 Service Instance via a monitor. These alerts are displayed on the Dashboard's alerts page, with the possibility of triggering a notification to be sent through a channel of your choice. For a guide on creating channels, please see here
- Open the URL in a browser and then authenticate on the OpenSearch Dashboards login page with your Service Key credentials:
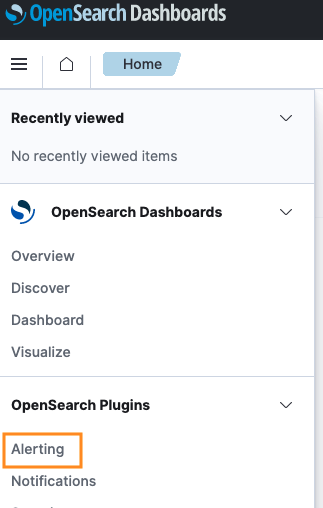
- Open the dashboard menu.
- Click on the Alerting tab.
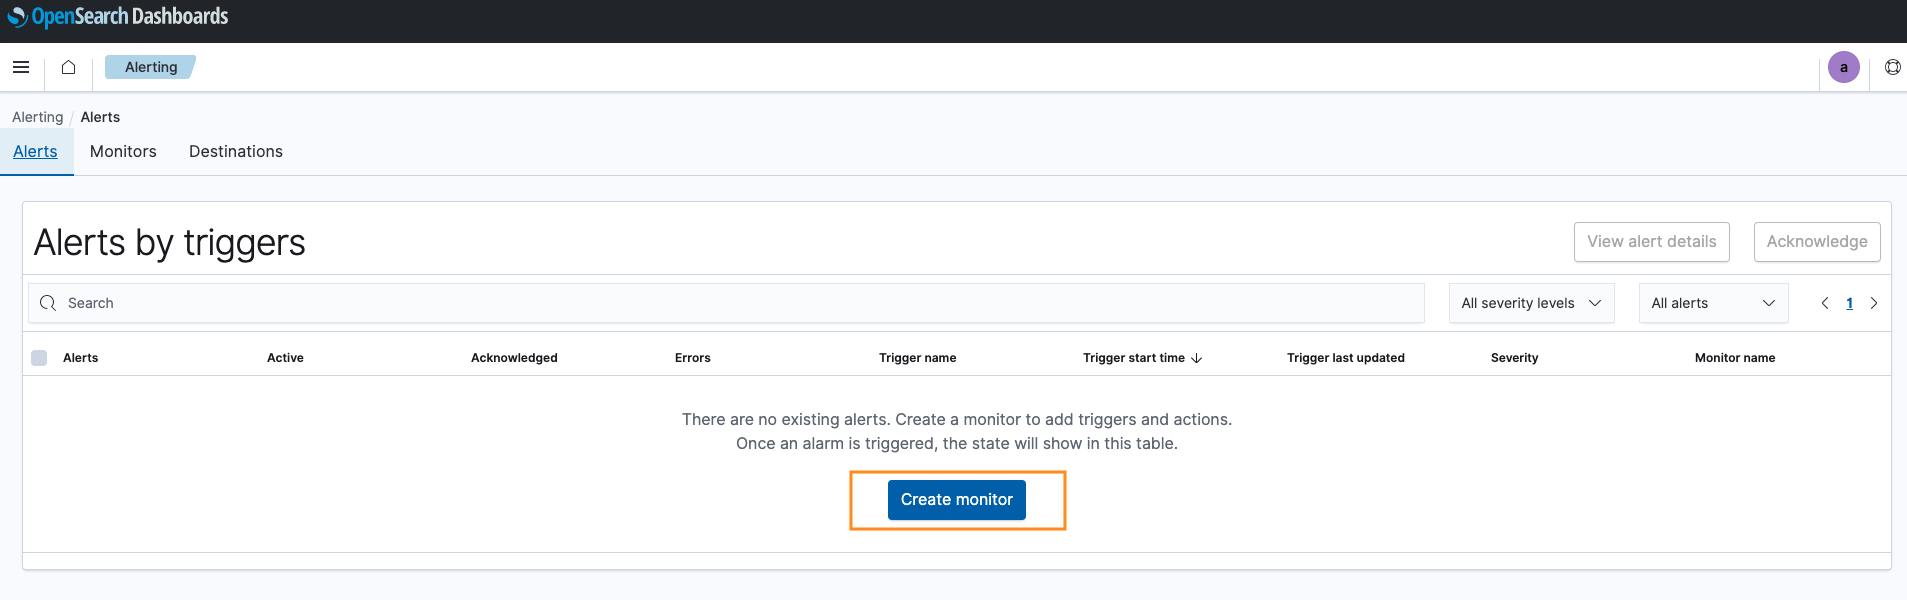
- Once in the Alerting page, create a new
monitor.
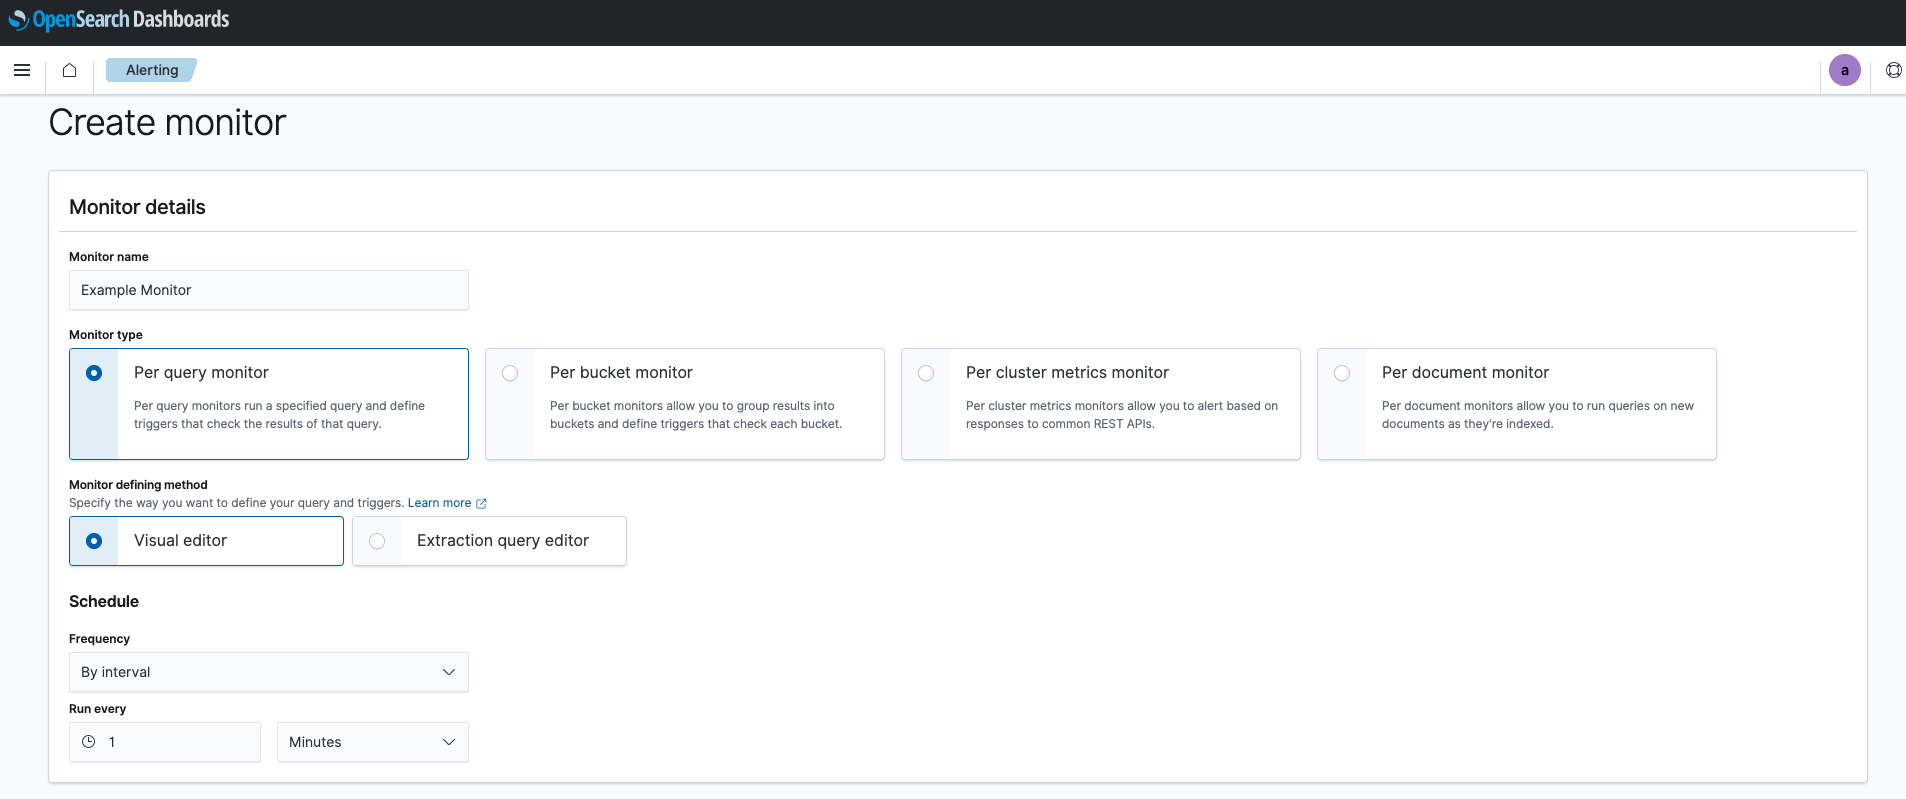
- When configuring your new
monitoryou must provide:
- a
monitor name - a
monitor type - a
monitor defining method(see here to learn more about the defining methods available) - the
schedule frequency(here we are setting it to a 1 minute interval)
-
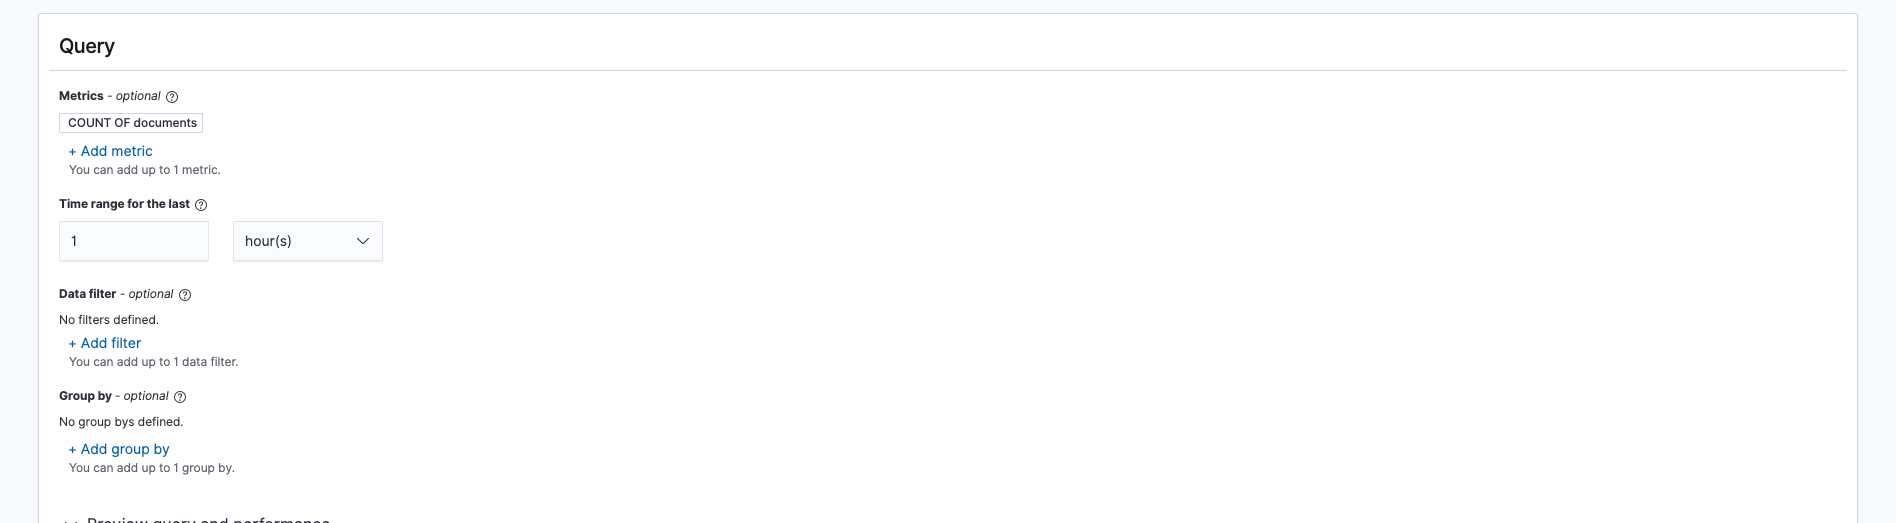
Select a data source (your index) and a time field (e.g.
timestamp)
-
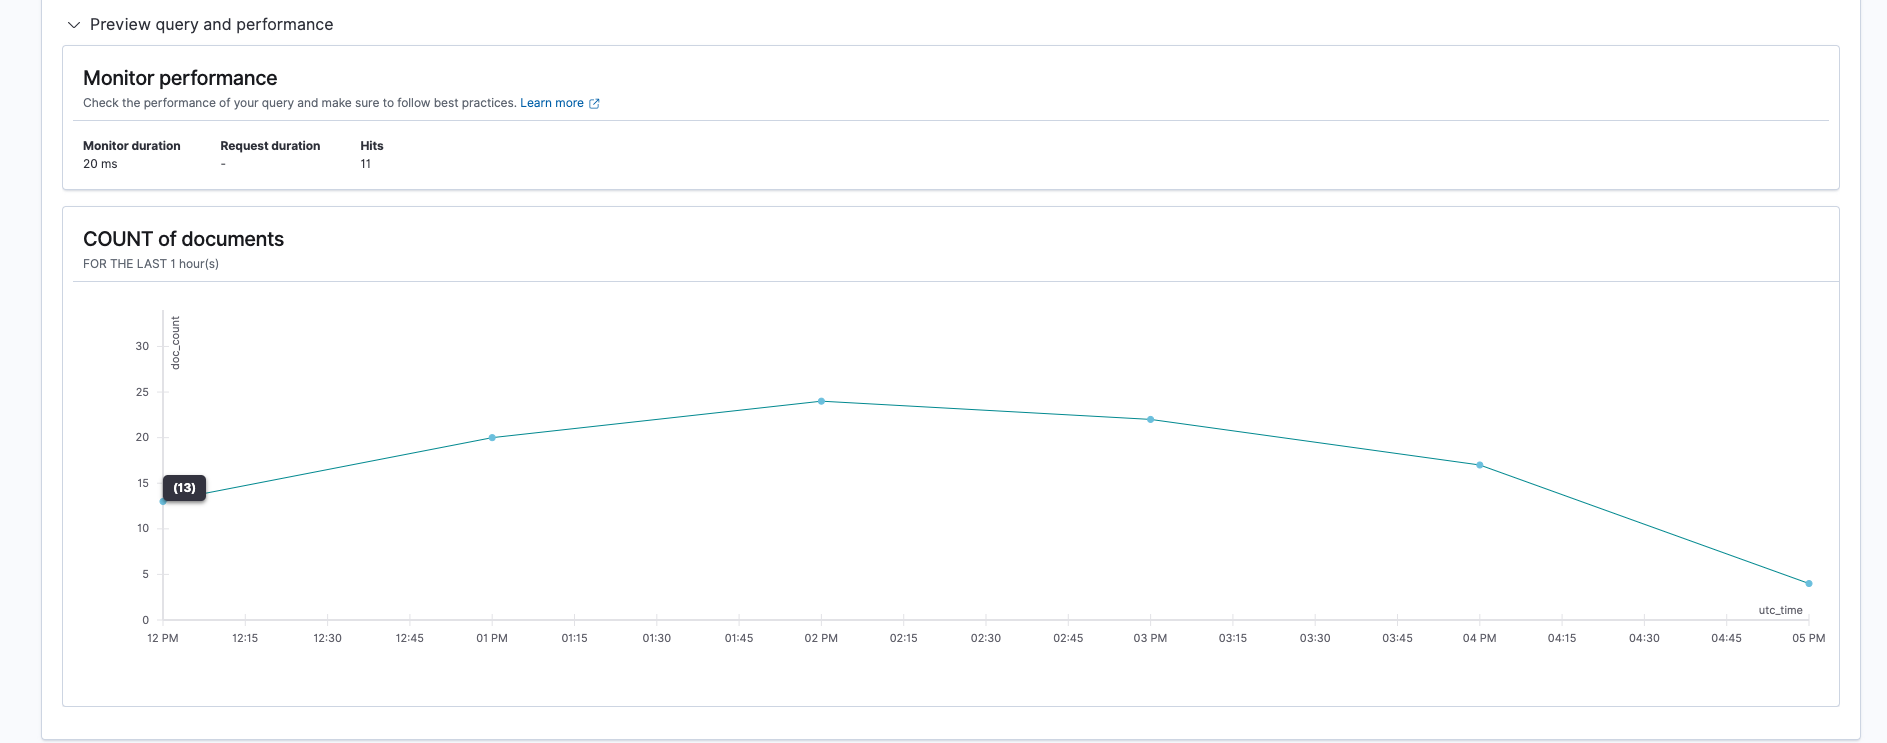
Define the monitor query (the necessary information changes depending on the monitor type). This step is optional for most monitor types, except for the
Per document monitor.
You can preview your monitor's results within the same step:
- Configure a trigger by specifying:
- a
trigger name - a
severity level - a
trigger condition - an
actionto be performed
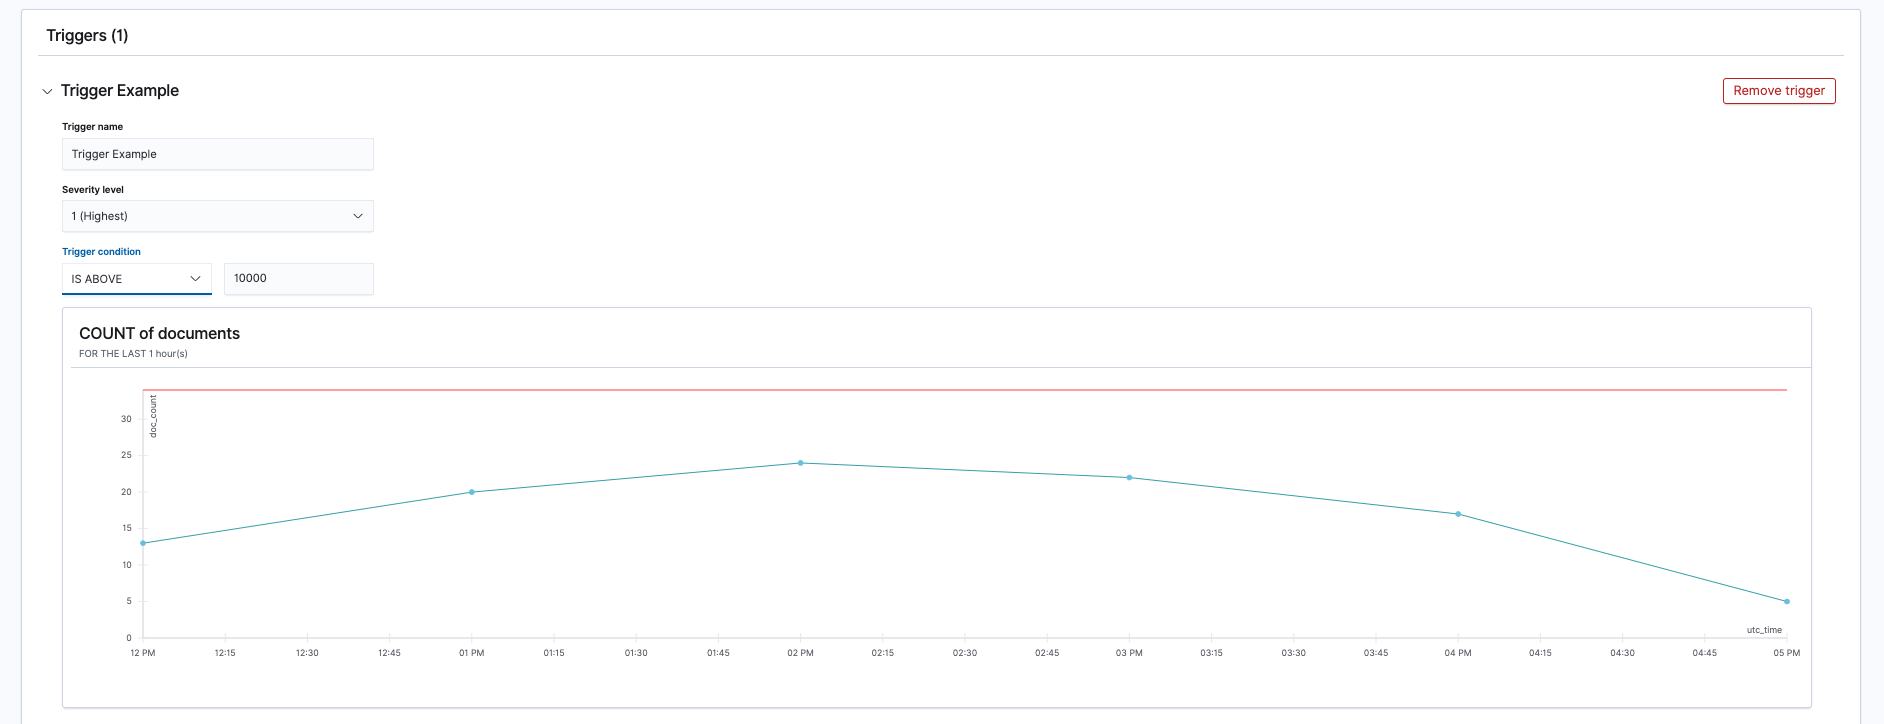
You can specify up to 10 different triggers.

- To define an action, you must specify:
- an
action name - a
channel(please see Creating a Notification Channel for further details) - the
message subject - a
message
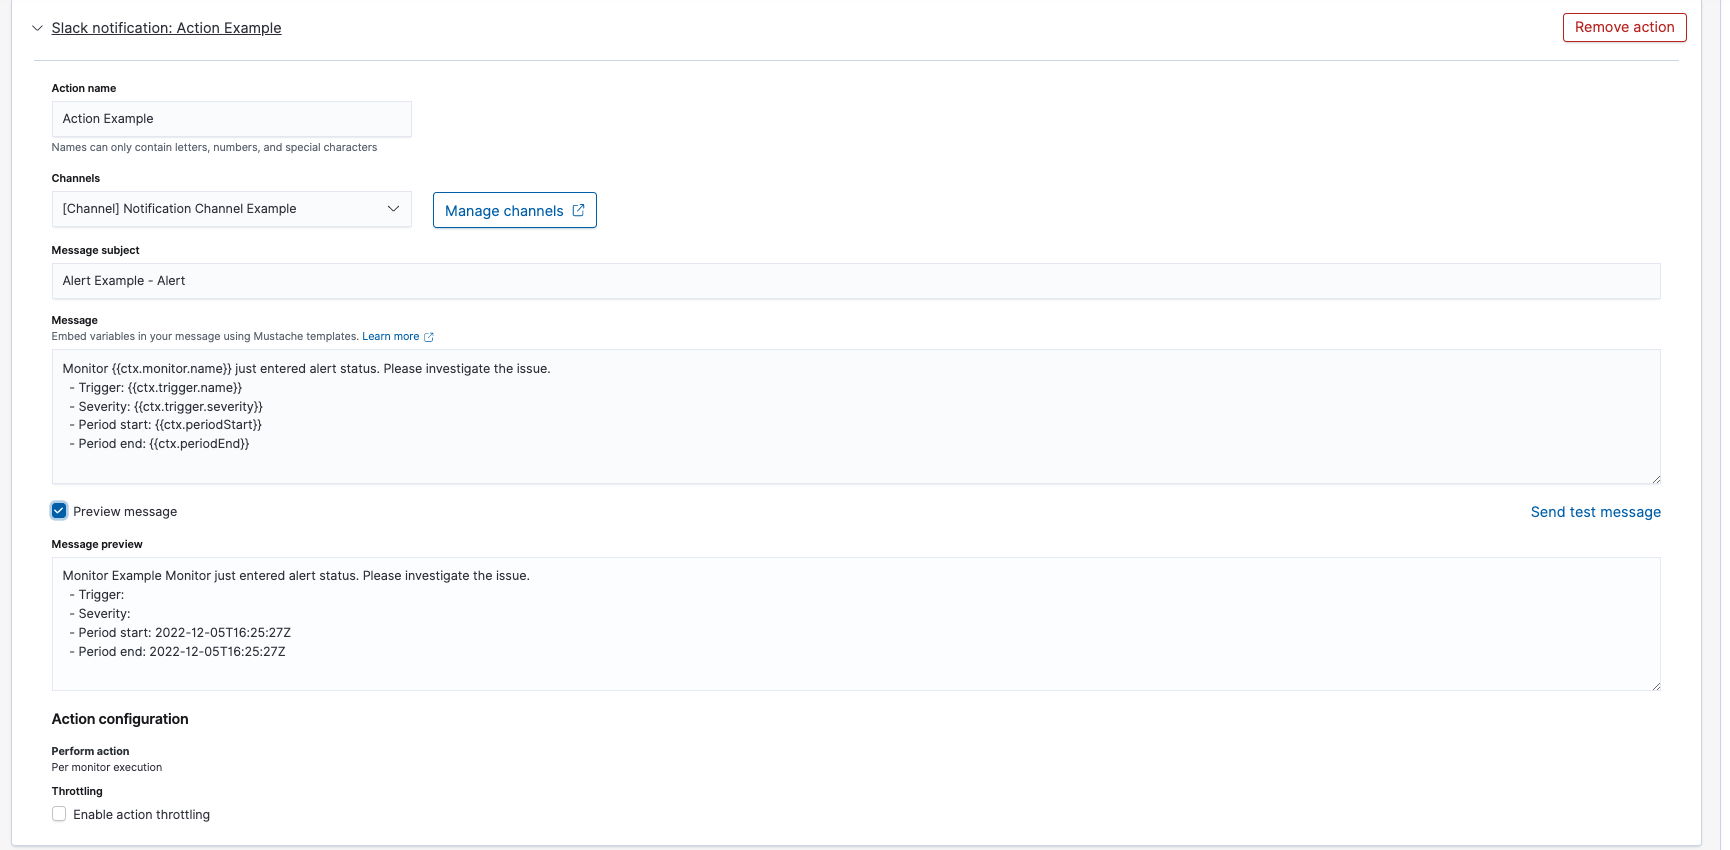
You can specify additional setting in your action, which change depending on the overall monitor type
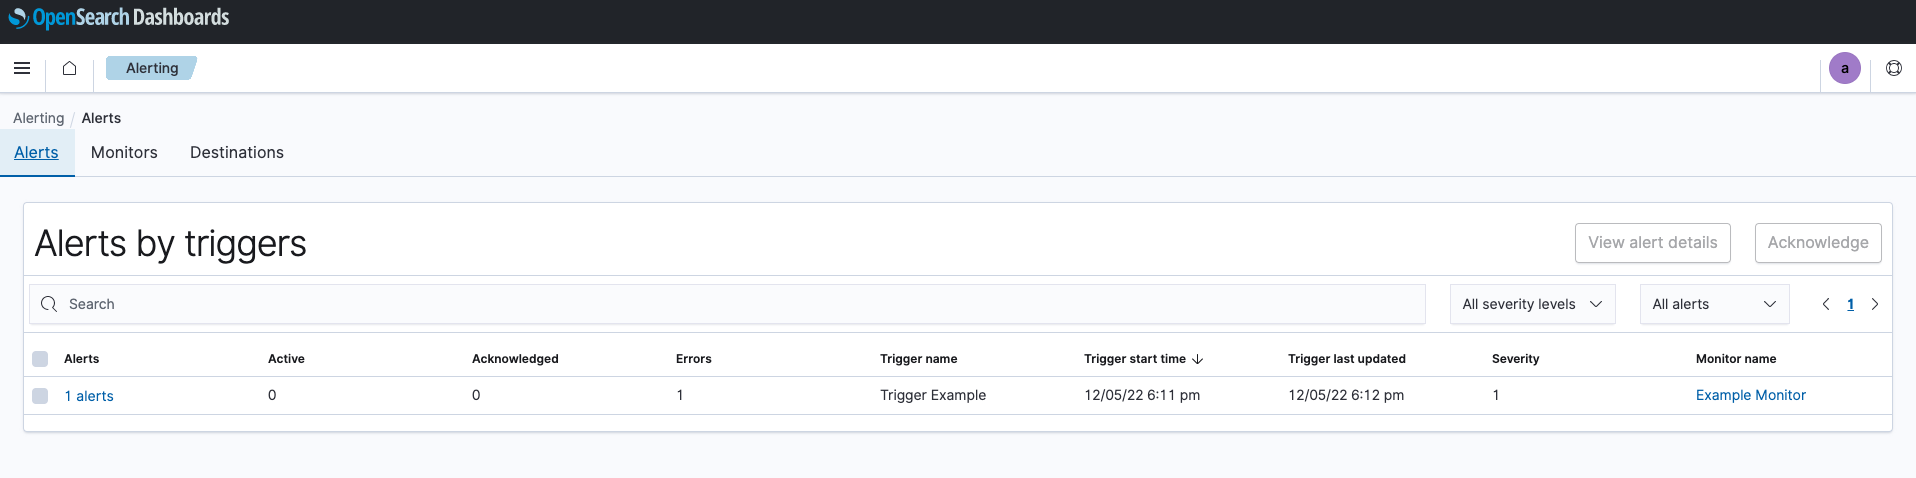
You can choose to skip specifying an action for your monitor. Doing so means that no notification will be sent, but the
triggered alert will still be displayed in the alerts page.
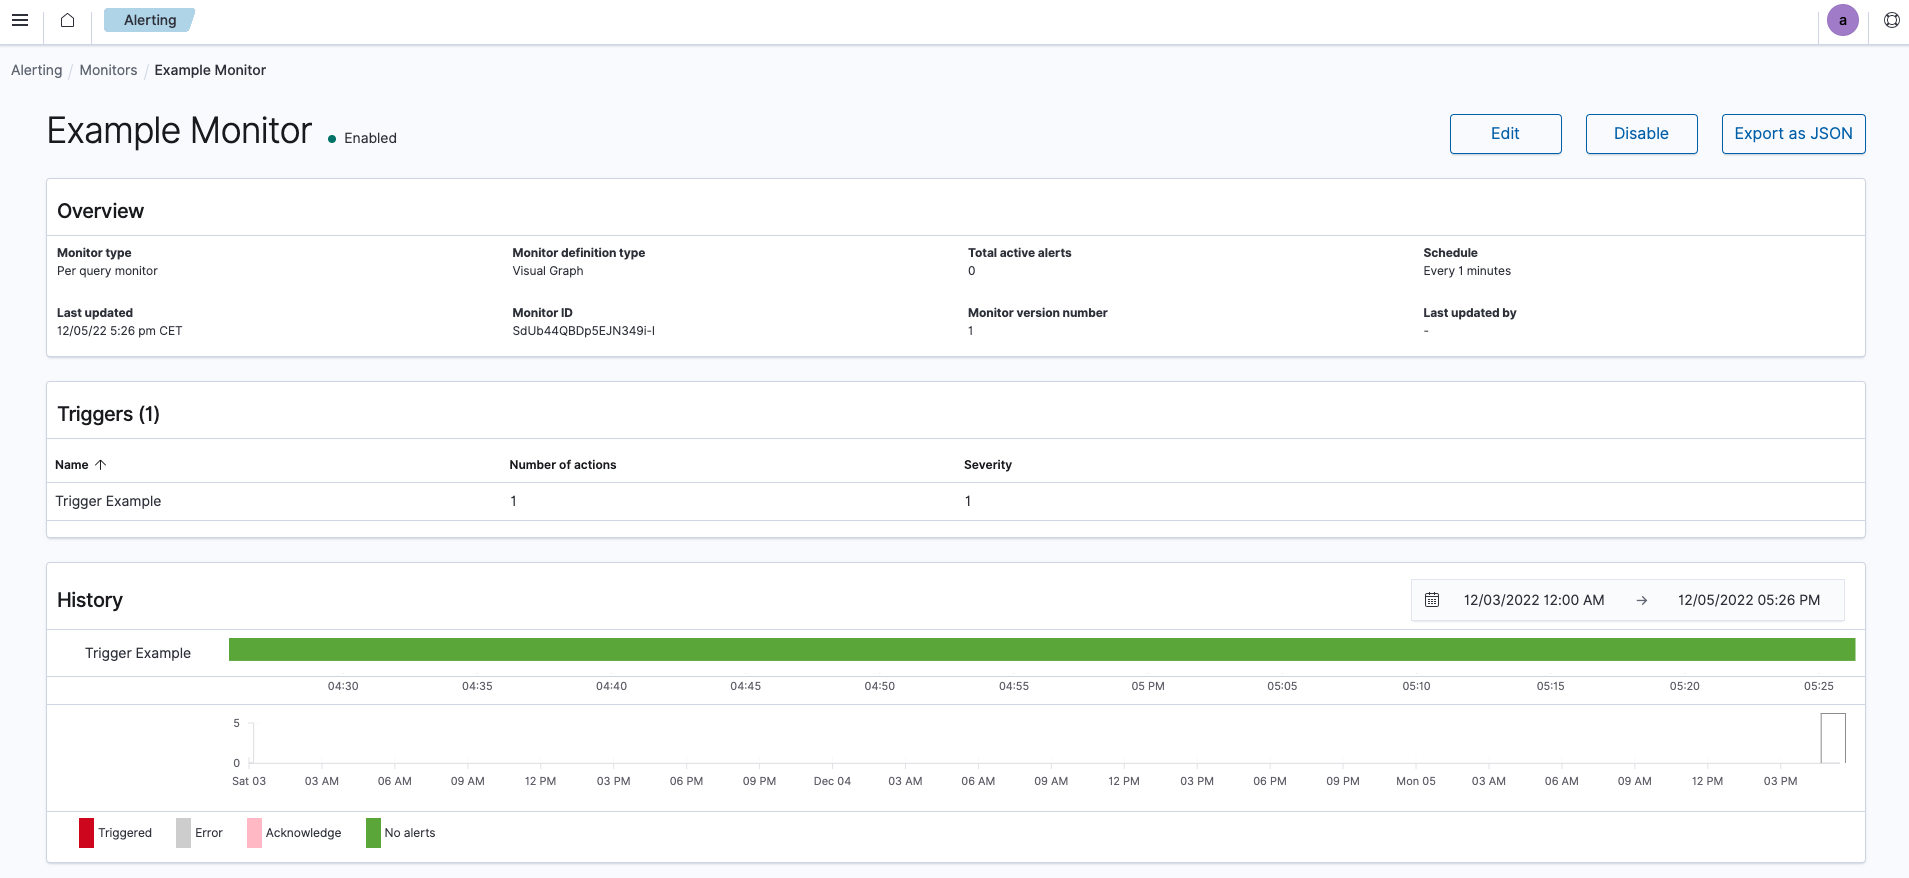
- After setting your alert, you should be able to see a summary like the one below:
Configure an SMTP Sender
You can configure SMTP Sender(s) for your a9s LogMe2 Service Instance. This enables you to send notification to recipients or recipient groups via SMTP (E-Mail).
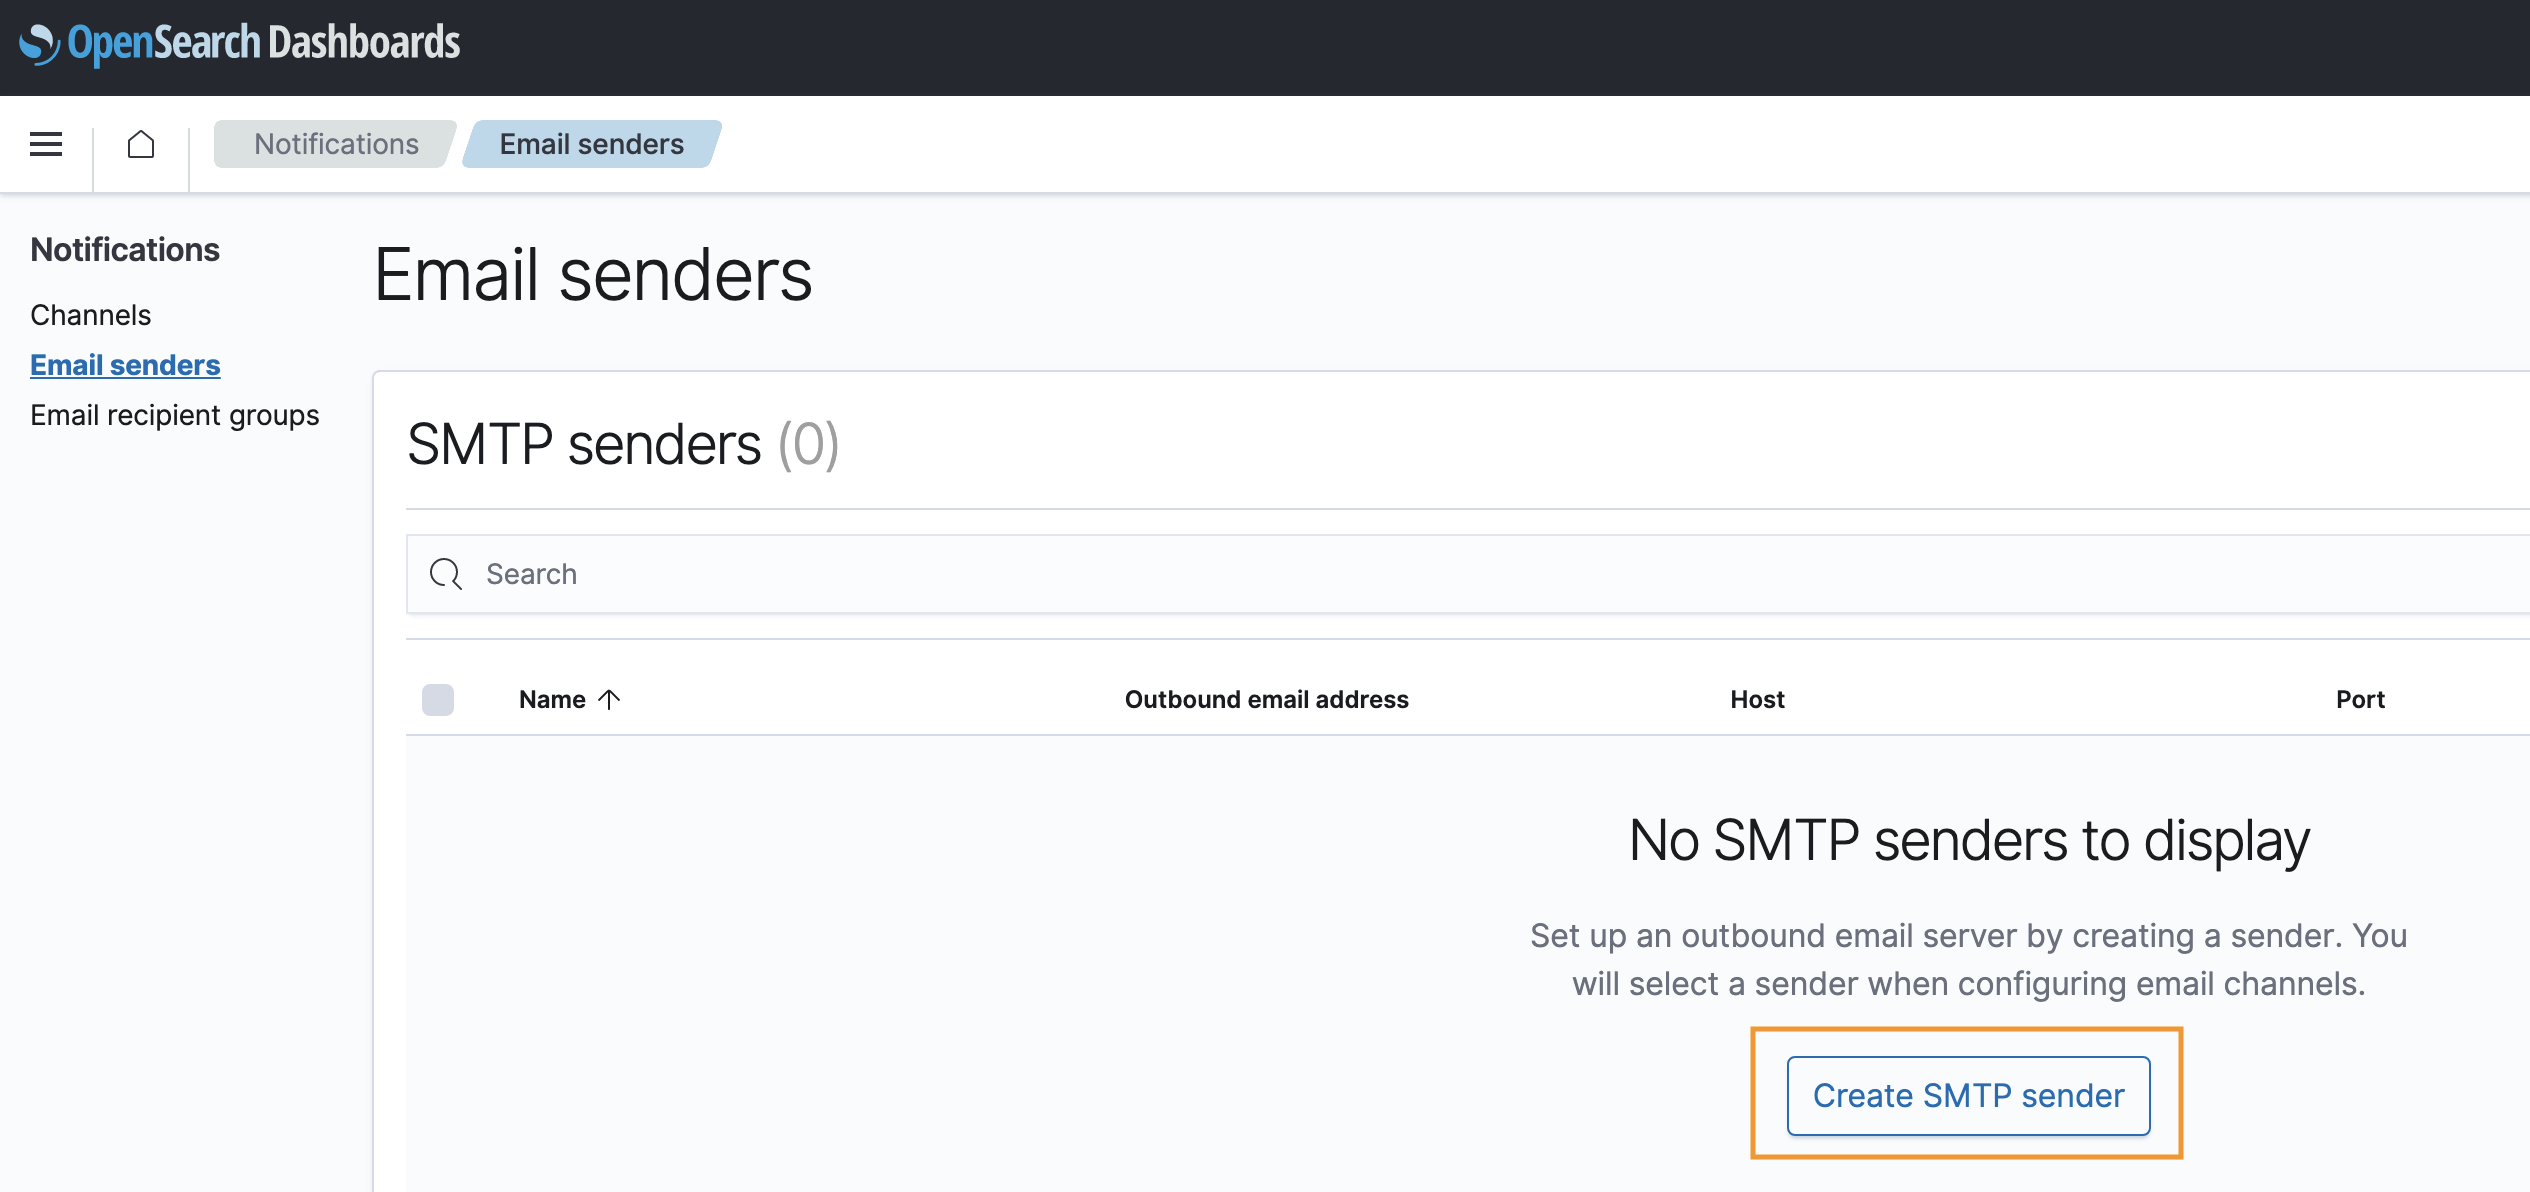
To create a new sender, navigate to the OpenSearch Dashboard, click on the Email senders overview and then
click on Create SMTP sender:
On the new page, fill the input fields with the information about the SMTP username and the SMTP server:

The Sender name needs to be the same as the name that is configured by the Platform Operator.
If you want to know more details about this, please refer to the Platform Operator's documentation.