Using a9s LogMe2
This topic describes how to use a9s LogMe2 after it has been successfully installed.
Stream Application Logs to LogMe2
To use a9s LogMe2 with an application, create a Service Instance and bind the Service Instance to your application. For more information on managing Service Instances, see Managing Service Instances with the cf CLI.
When using a9s LogMe2, you can use the encrypted TCP endpoint from Fluentd to receive logs from an application running
in Cloud Foundry. You can find this endpoint in your service key/binding under the syslog_drain_url that starts with
syslog-tls://. See Binding/Service Key Options for more information.
Supported Protocols and Limitations
a9s LogMe2 supports the use of the Syslog Protocol (RFC 5424 and by extension RFC 3164) under the following standards:
- Transport Layer Security (TLS) Transport Mapping for Syslog RCF 5425
- Transmission of Syslog Messages over UDP RCF 5426
- Transmission of Syslog Messages over TCP RCF 6587
This means that your Syslog messages must reflect the requirements set by these standards such as, but not limited to:
- The timestamp of your Syslog messages must follow the format mentioned in section 6.2.3 of RFC 5424 (which is derived from RFC 3339).
- Your log source must be able to use
nilas a timestamp when unable to obtain the system's time.
Furthermore, depending on whether your Syslog messages are being sent over UDP or TCP, they should take on a specific format.
For UDP the format takes on the shape of:
<priority>version date hostname app_name proccess_id message_id structured_data message
Which would look like this:
<34>1 2023-12-12T14:37:35.569848Z <your_host> <your_app> 1234 ID98 [...] This is an app log message.
For TCP the format takes on the shape of:
size <priority>version date hostname app_name proccess_id message_id structured_data message
Which would look like this:
196 <34>1 2023-12-13T14:37:35Z myhostname myapp - - - This is a sample syslog message23344
As you can see, the timestamp in the examples differ from one another. this is due to the fact that both are accepted by the Syslog protocol.
View the Service Offering
After the service is installed, run cf marketplace to see a9s-logme2 service offering and its service plans:
$ cf marketplace
Getting services from marketplace in org test / space test as admin...
OK
service     plans                                                                                description
a9s-logme2  logme2-single-small, logme2-single-big, logme2-cluster-small, logme2-cluster-big     This is the a9s LogMe2 service.
Create a Service Instance
To provision a LogMe2 instance, run cf create-service SERVICE-NAME PLAN-NAME INSTANCE-NAME where INSTANCE-NAME is any name you want to give the instance you create.
cf create-service a9s-logme2 logme2-single-small my-logme2-service
Depending on your infrastructure and service broker utilization, it may take several minutes to create the Service Instance.
Run the cf services command to view the creation status. This command displays a list of all your Service Instances. To view the status of a specific Service Instance, run cf service NAME-OF-YOUR-SERVICE.
Bind the LogMe2 Service to Your Application
After the LogMe2 Service Instance is created, run cf bind-service APP-NAME INSTANCE-NAME to bind the LogMe2 service to any applications whose logs should be streamed:
cf bind-service my-app my-logme2-service
To learn more about the options available to you when creating a binding/service key, see Binding/Service Key Options.
Restage or Restart Your Application
To enable your application to access the Service Instance, run cf restage or cf restart to restage or restart your application.
See Your Applications Logs
To see your service's logs follow the instructions here.
Best Practices
There are some best practices for using service binding information in apps in a separate document.
Stream a9s Service Logs to LogMe2
To use a LogMe2 Service Instance to monitor another Service Instance, follow the first two steps of Stream application logs to LogMe2 to create an a9s LogMe2 Service Instance.
In order for a9s LogMe2 to receive logs from another a9s Service Instance, you need to enable the Fluentd's UDP endpoint.
Create a Service Key
After the LogMe2 Service Instance is created, run cf create-service-key my-logme2-service SERVICE-KEY-NAME to create a new key for your Service Instance:
$ cf create-service-key my-logme2-service key1
$ cf service-key my-logme2-service key1

{
  "cacrt": "-----BEGIN CERTIFICATE-----\nMIIDGzszfasde....8tn9ebYK0k2Qt\n-----END CERTIFICATE-----\n",
  "host": "https://d765411-os.service.dc1.dsf2.a9ssvc:9200",
  "password": "a9scbe8462ee571f12d95b3a950e1bf8b2445a59983",
  "syslog_drain_url": "syslog-tls://d765411-fluentd.service.dc1.dsf2.a9ssvc:6514",
  "username": "a9s94bd153ddf5978f1eae7c88b57a27721430600d2"
}
You can use the following option when creating a service key/binding:
| Custom Parameter Name | Description | Possible Values |
|---|---|---|
syslog-use-udp | Causes the protocol in the syslog_drain_url to be syslog:// instead of syslog-tls:// and removes the cacrt field. | yes / no |
Example:
$ cf create-service-key my-logme2-service key2 -c '{"syslog-use-udp": "yes"}'
$ cf service-key my-logme2-service key2

{
 "host": "https://d765411-os.service.dc1.dsf2.a9ssvc:9200",
 "password": "a9s905525a655930b2bdeb890023c478079734a6409",
 "syslog_drain_url": "syslog://d765411-fluentd.service.dc1.dsf2.a9ssvc:514",
 "username": "a9s19db1255257d8fb3ec3027444bf1d163dca21586"
}
Update Your Service
The cf update-service command used with the -c flag can let you stream your syslog to a third-party service. In this case, the command expects a JSON string containing the syslog key. For this, you need to give the URL given by the cf service-key command as a value for the syslog key.
$ cf update-service service-instance-to-monitor \
-c '{"syslog": ["d37f7da-fluentd.service.dc1.consul:514"]}'
See Your Services Logs
To see your service's logs follow the instructions here.
See Your Logs
Regardless of the origin or your logs, be it your application or your Service Instance, the process to see them on the OpenSearch Dashboard is as follows:
Before you can see your application logs, you need credentials. Credentials can be retrieved by first creating a Service Key with
cf create-service-key my-logme2-service key1and then displaying them:$ cf service-key my-logme2-service key1
Getting key k1 for service instance rg-real as cf-admin-dataservices...
{
"cacrt": "-----BEGIN CERTIFICATE-----\nMIIDGzszfasde....8tn9ebYK0k2Qt\n-----END CERTIFICATE-----\n",
"host": "https://d765411-os.service.dc1.dsf2.a9ssvc:9200",
"password": "a9scbe8462ee571f12d95b3a950e1bf8b2445a59983",
"syslog_drain_url": "syslog-tls://d765411-fluentd.service.dc1.dsf2.a9ssvc:6514",
"username": "a9s94bd153ddf5978f1eae7c88b57a27721430600d2"
}
To learn more about the options available to you when creating a binding/service key, see Binding/Service Key Options.
You need the username and password field values for authentication.
- Grab the Service Instance's dashboard URL with
cf service my-logme2-service:
(...)
name:             my-logme2-service
service:          a9s-logme2
tags:
plan:             logme2-single-small
description:      This is the a9s LogMe2 service.
documentation:    https://docs.anynines.com
dashboard:        https://a9s-logme2-dashboards.your-domain.com/service-instance/a89f3114-5e77-40a5-b3b0-34a9741f3cd5
service broker:   logme2-service-broker

This service is not currently shared.

Showing status of last operation from service my-logme2-service...

status:    create succeeded
message:
started:   2022-27-08T20:18:13Z
updated:   2022-27-08T20:24:33Z

bound apps:
name          binding name   status             message
my-app                       create succeeded
Extend the dashboard URL with a postfix
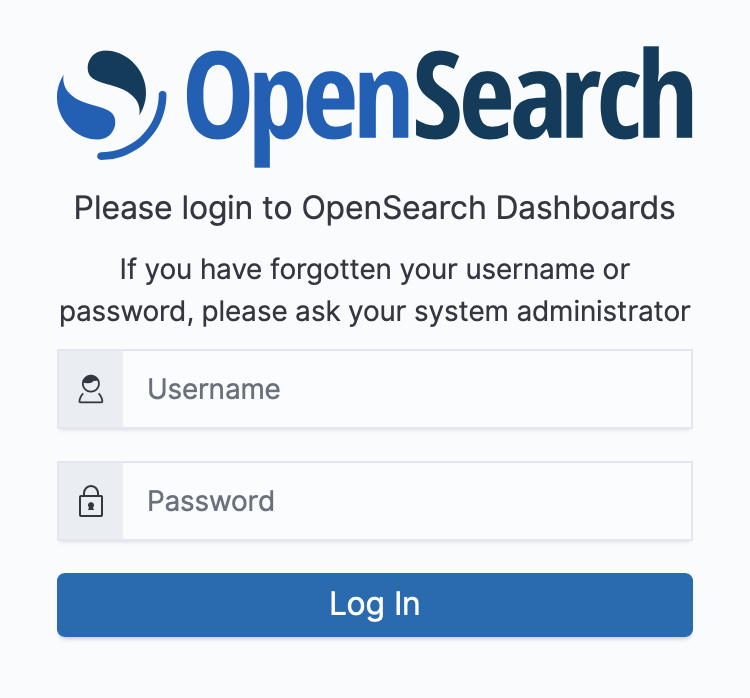
/opensearch-dashboard. In the above example this would result in the URLhttps://a9s-logme2-dashboards.your-domain.com/service-instances/a89f3114-5e77-40a5-b3b0-34a9741f3cd5/opensearch-dashboard.Open the URL in a browser and then authenticate on the OpenSearch Dashboards login page with your Service Key credentials:
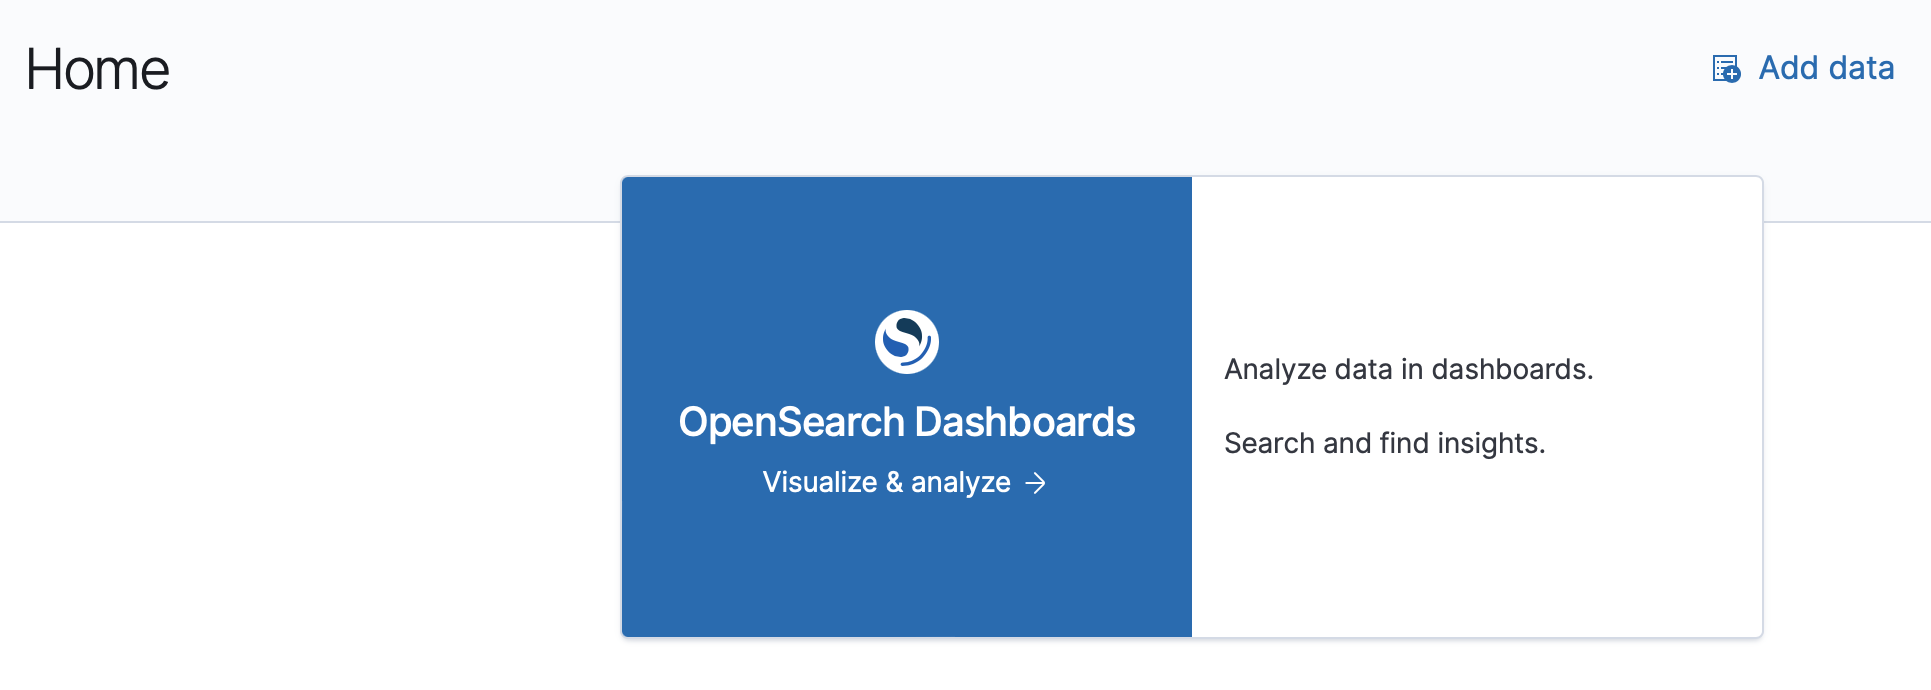
Once your a9s LogMe2 Service Instance has received messages, the following page will be presented to you and you just need to click on the left 'Visualize & analyze' link.
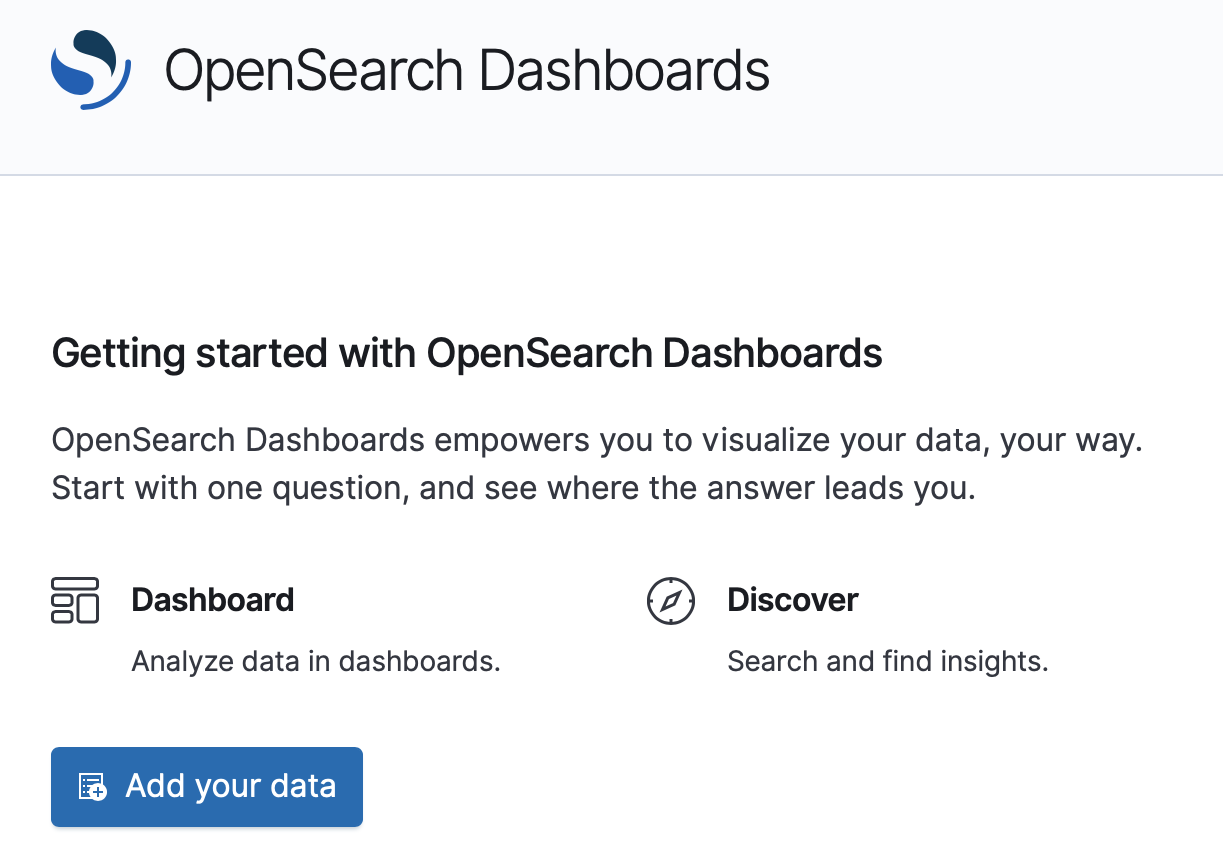
On the 'Getting started with OpenSearch Dashboards' page you need to select the 'Add your data' button.
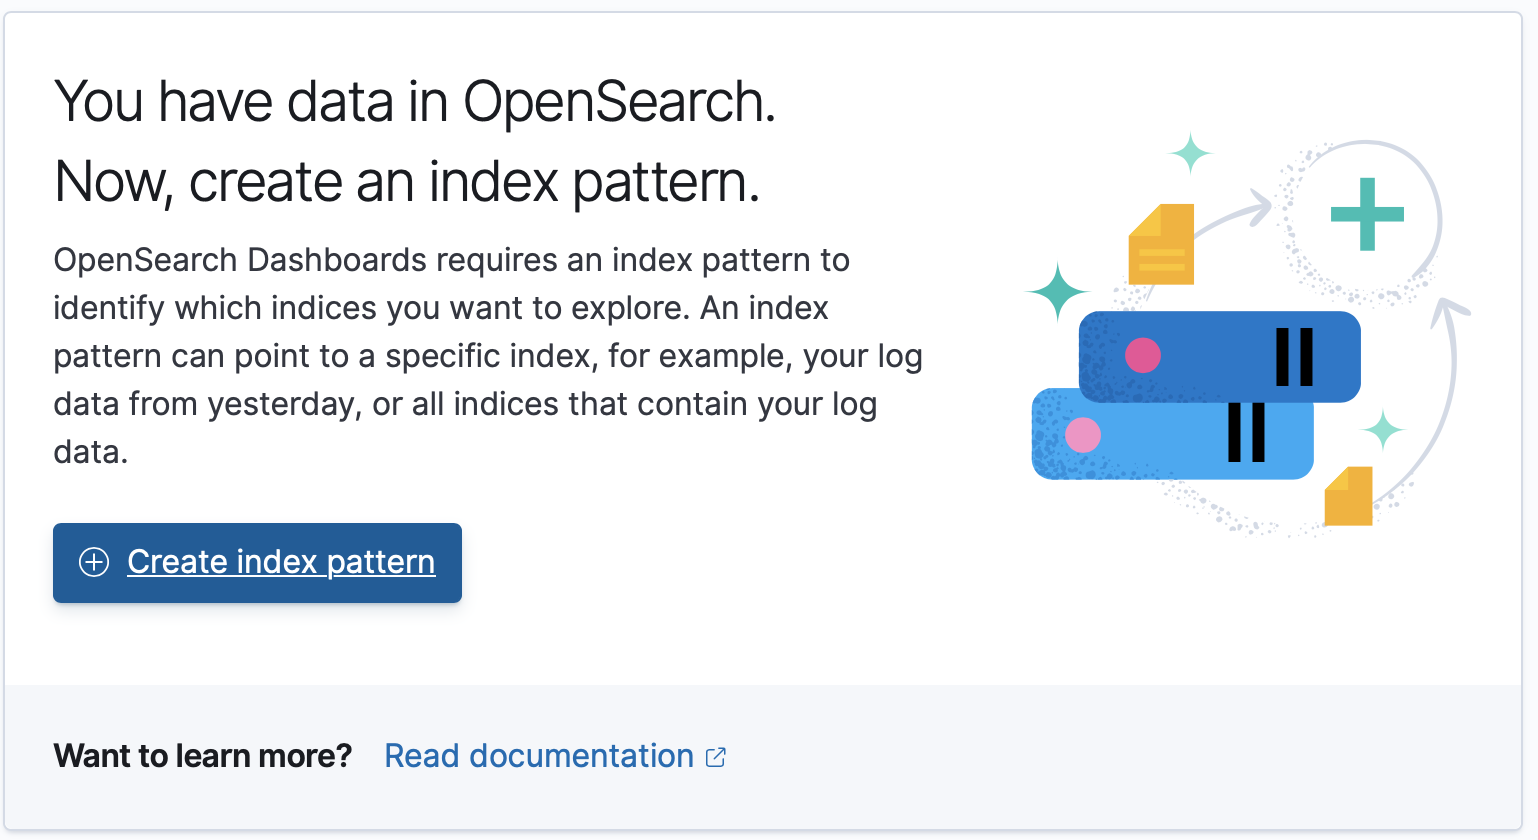
Then you can proceed by clicking the 'Create index pattern' button.
In the field 'Index pattern name', you need to enter
fluentd-*. Once you entered that value, a message should appear that your index pattern matches a source. Click on 'Next step' to proceed.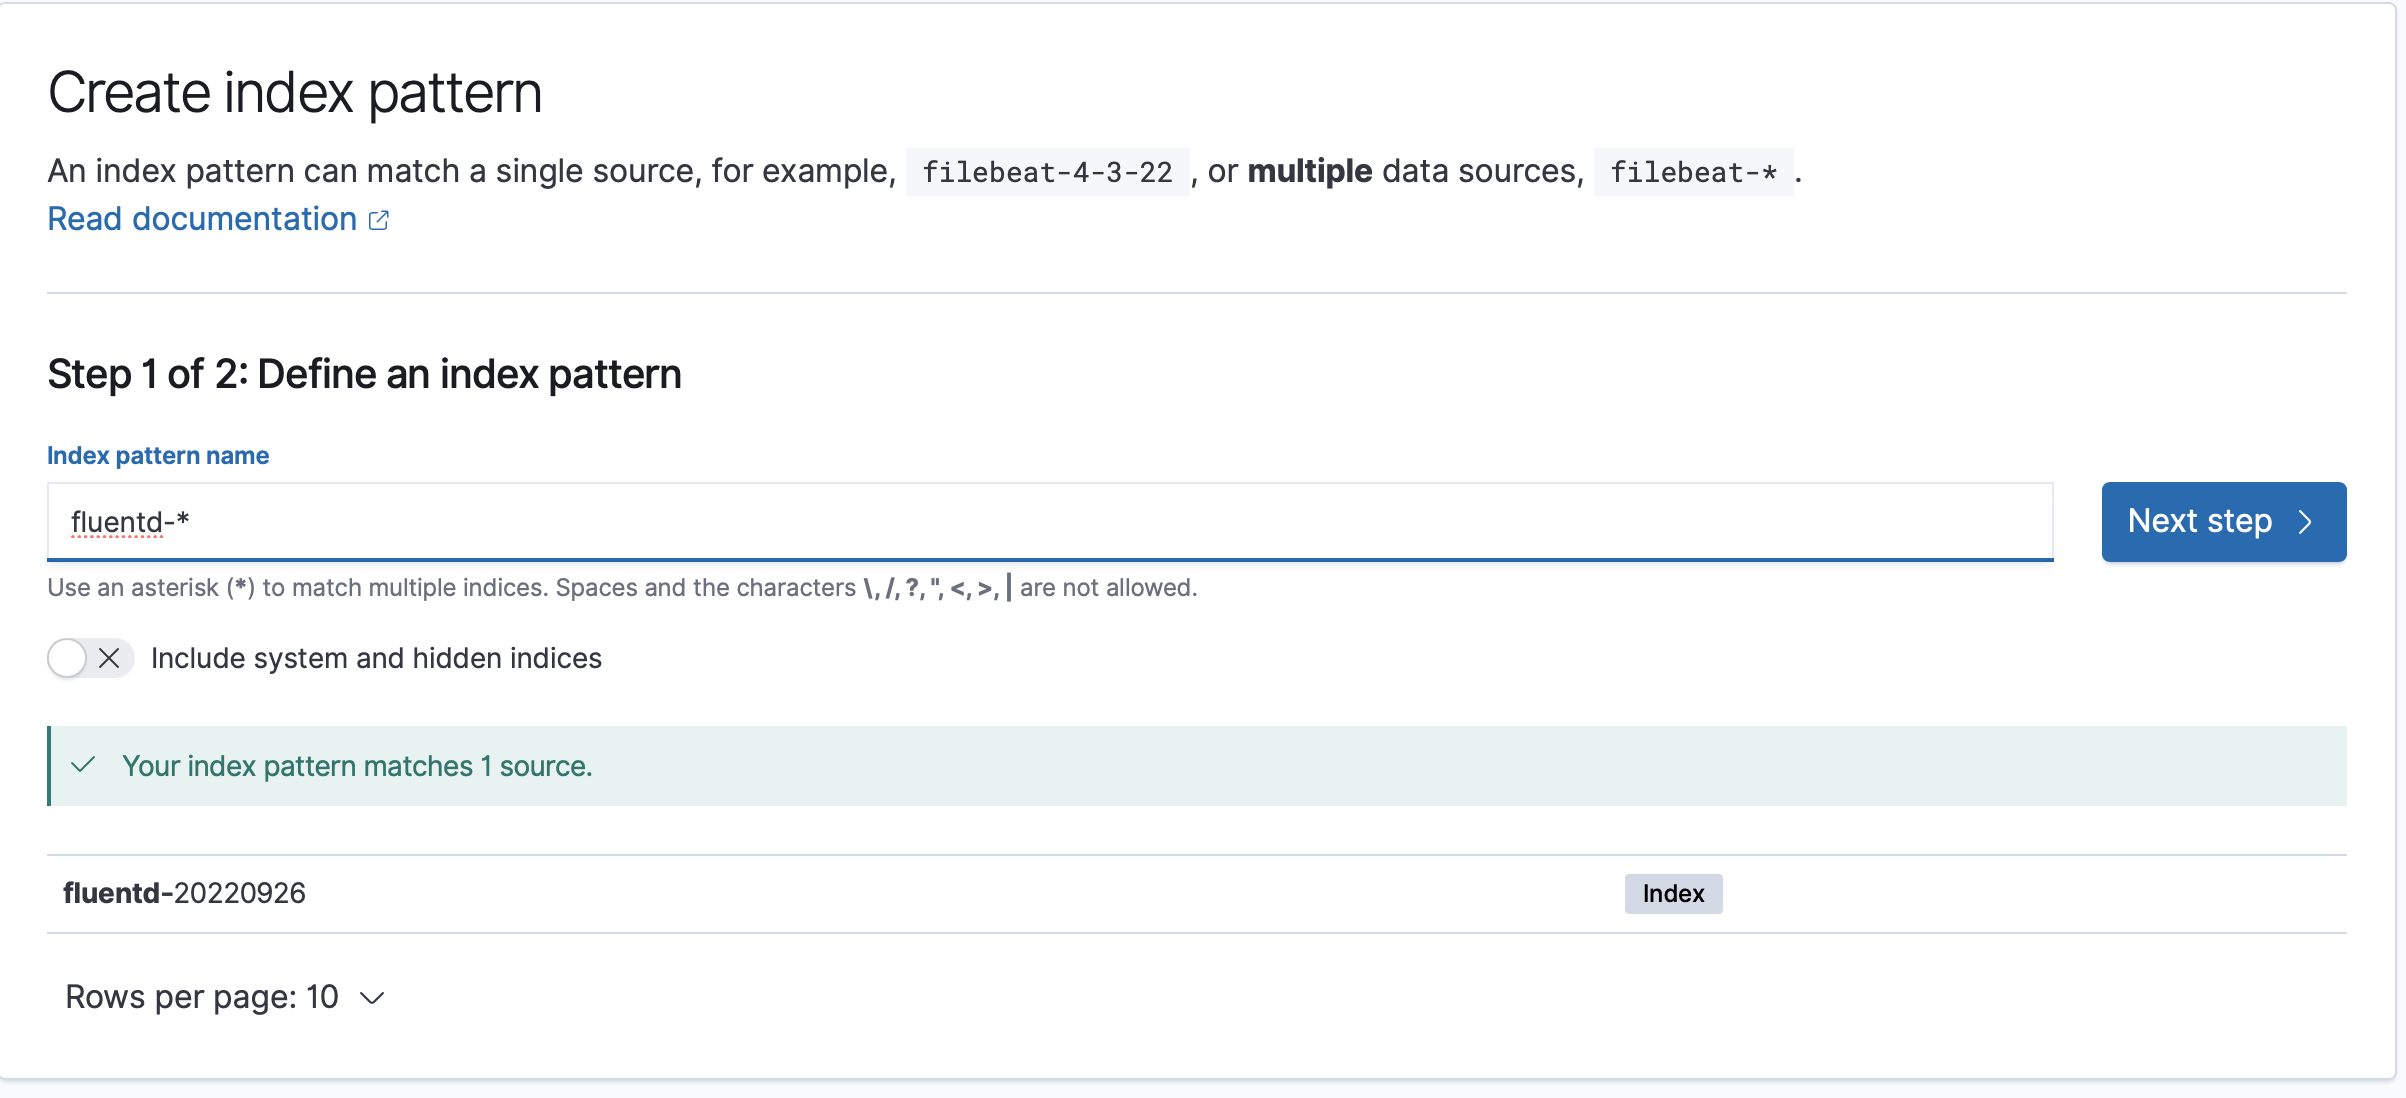
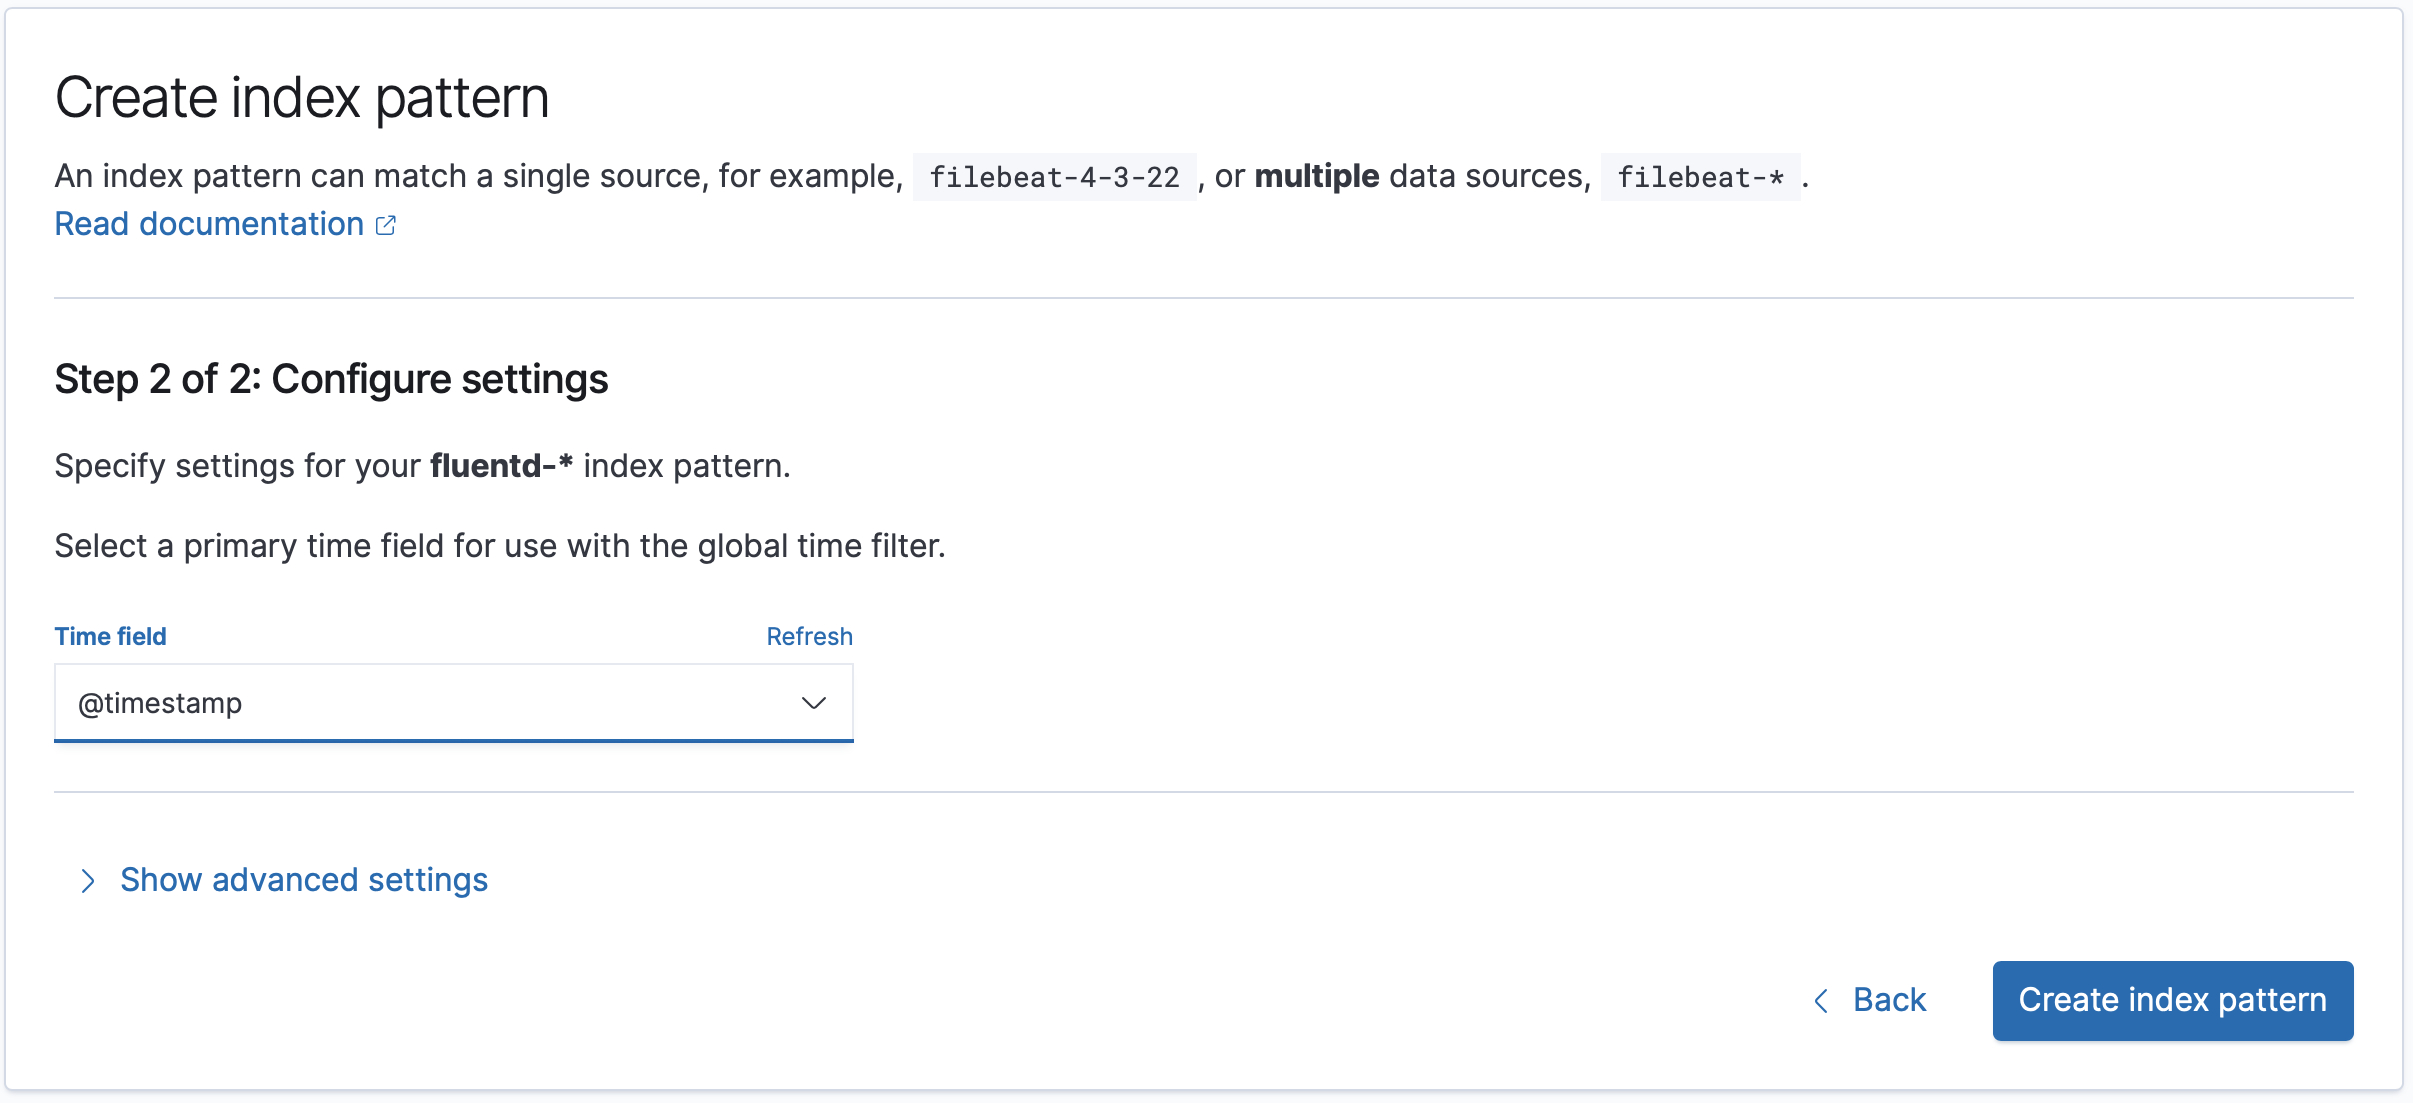
In the second step of 'Create index pattern', you need to select '@timestamp' for the 'Time field'. Afterwards, click 'Create index pattern' button to conclude the initial setup.
Your service's logs appear on the Discover view of OpenSearch Dashboards:
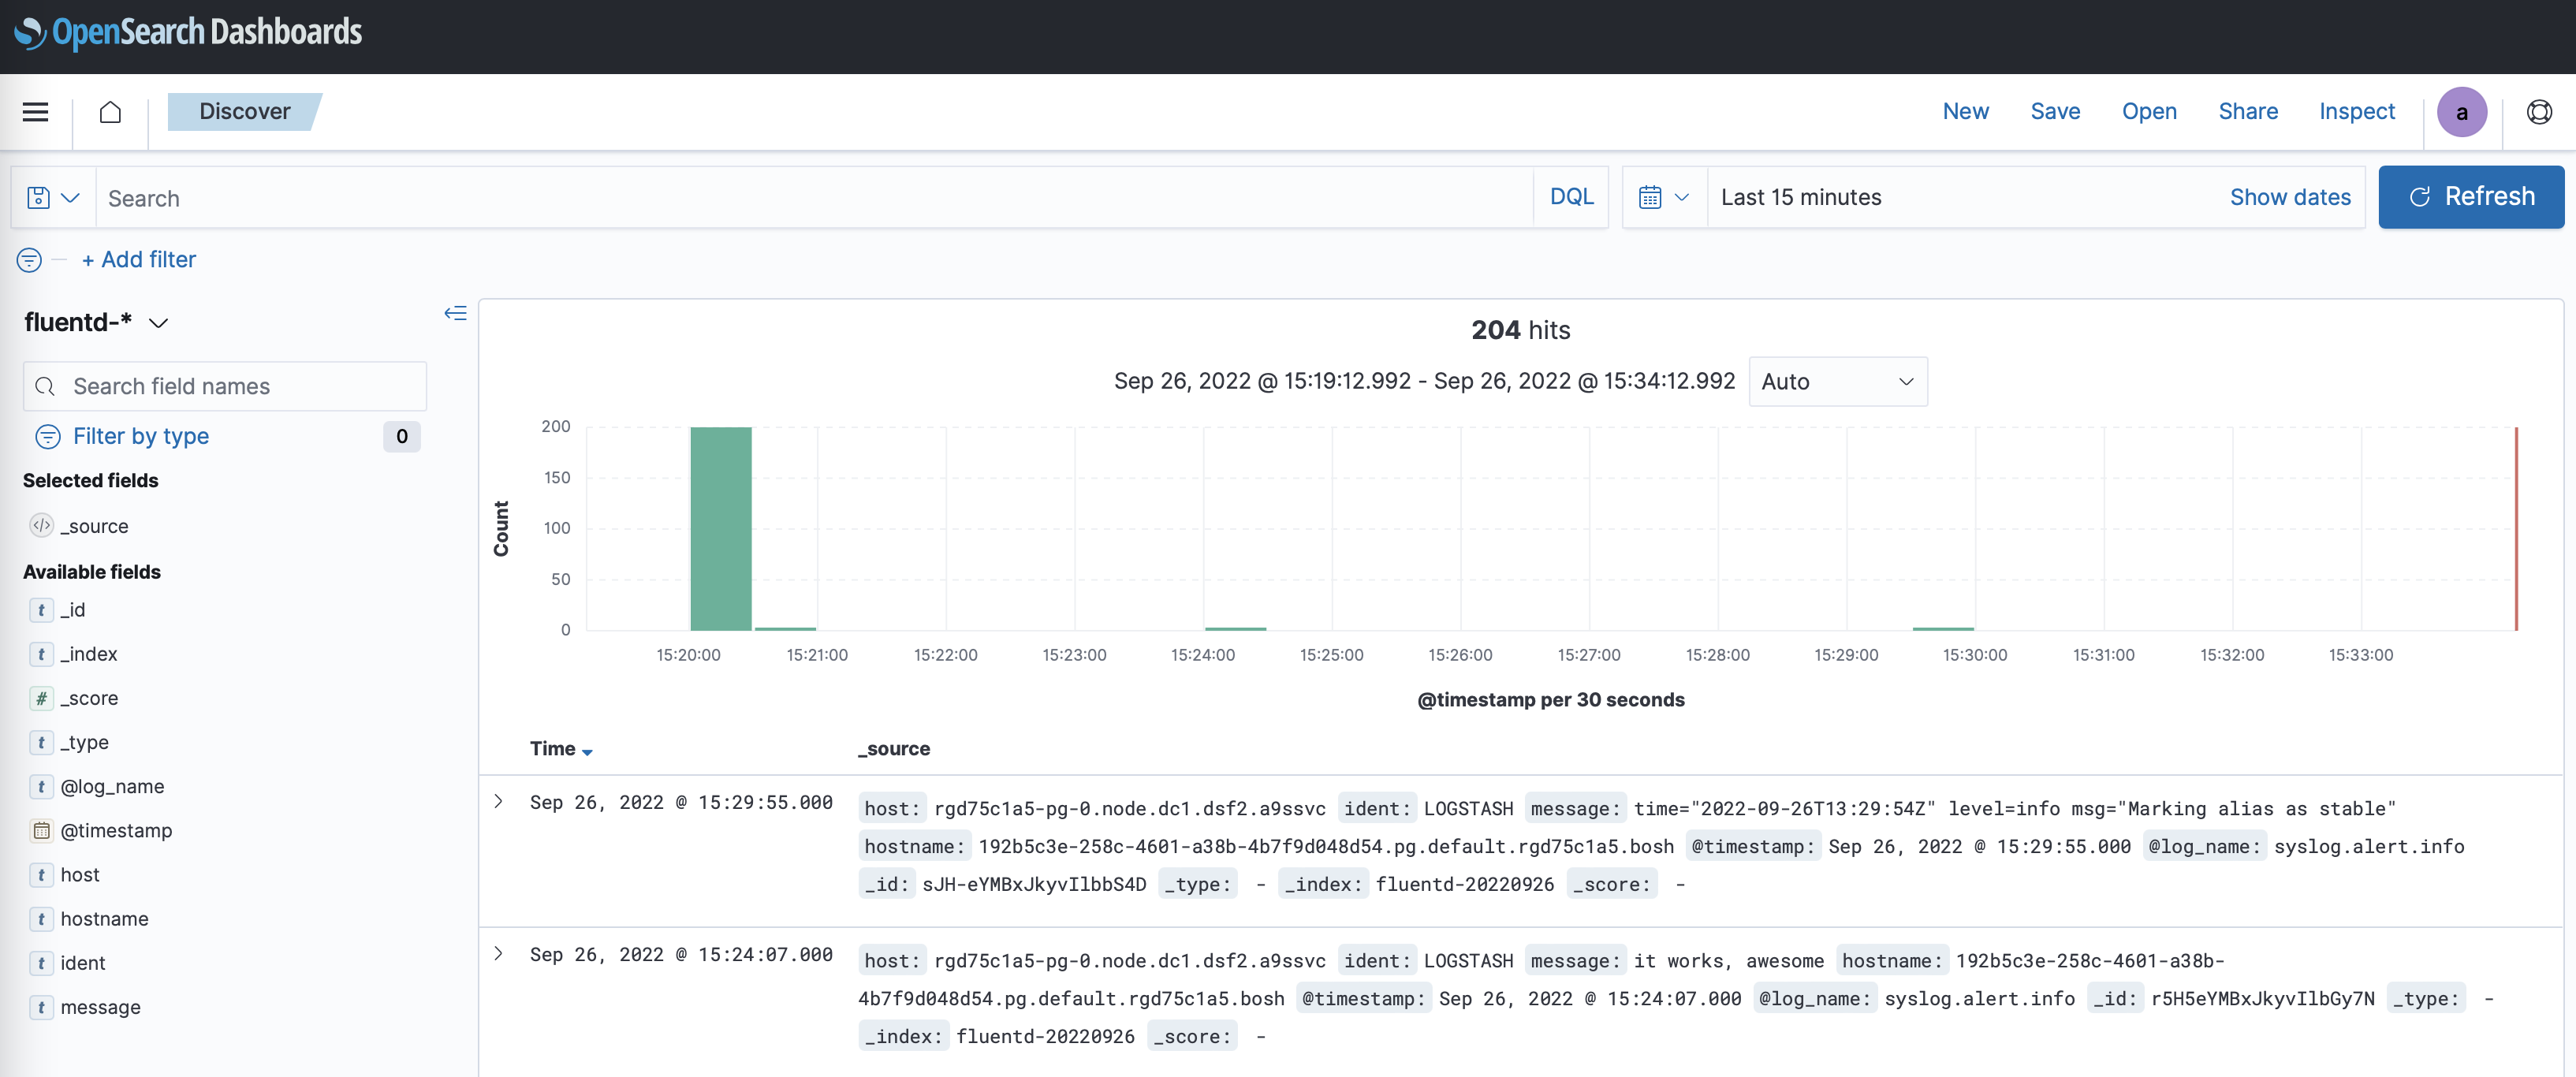
It may take a few seconds until the messages appear in OpenSearch Dashboards.
Stop Streaming Application Logs to LogMe2
Follow the steps below to stop streaming the logs of your applications to LogMe2.
List Available Services
Run cf services to list available Service Instances and get the name of the Service Instance you want to delete.
$ cf services

Getting services in org test / space test as admin...
OK

name                 service        plan                   bound apps        last operation
my-logme2-service    a9s-logme2     logme2-single-small    a9s-logme2-app    create succeeded
This example shows that my-logme2-service is bound to the a9s-logme2-app.
Unbind the Service Instance
If your LogMe2 Service Instance is bound to an app, you will need to unbind them first. Run cf unbind-service APP-NAME INSTANCE-NAME to unbind the service from your application:
cf unbind-service a9s-logme2-app my-logme2-service
Delete the Service Instance
Run cf delete-service INSTANCE-NAME to delete the Service Instance:
cf delete-service my-logme2-service
It may take several minutes to delete the service. Deleting a service deprovisions the corresponding infrastructure resources.
Run the cf services command to view the deletion status.
Stop Streaming Service Logs to LogMe2
Follow the steps below to stop streaming the logs of your services to LogMe2.
Overwrite Your Service configuration
If you want to stop streaming your Service Instance logs to your LogMe2 instance,
you can overwrite the syslog key of your service configuration.
Run cf update-service INSTANCE-NAME -c PARAMETERS-AS-JSON to update the syslog
endpoint of the instance you don't want to monitor anymore. For this, you need
to overwrite the value of the syslog key with an empty string.
cf update-service service-instance-to-monitor -c '{"syslog": []}'
Delete the Service Key and Instance
If you are not using it anymore, you may want to delete the service key and the
Service Instance itself. Run cf delete-service-key INSTANCE-NAME SERVICE-KEY-NAME
and cf delete-service INSTANCE-NAME to do so.
cf delete-service-key my-logme2-service key1
cf delete-service my-logme2-service
It may take several minutes to delete the service. Deleting a service deprovisions the corresponding infrastructure resources.
Run the cf services command to view the deletion status.
Add a Graphite Endpoint
If you want to monitor your service with Graphite, you can set the custom
parameter graphite. It expects the host and port where the Graphite metrics
should be sent to.
For example, in order to send Graphite metrics to an endpoint
yourspace.your-graphite-endpoint.com:12345, you can use the following
command:
cf update-service my-instance -c '{ "graphite": "yourspace.your-graphite-endpoint.com:12345" }'
The endpoint would then receive metrics in the format:
<service_guid>.<service_type>.<host>.<metric> <metric value> <metric timestamp>
Metrics Frequency
By default, metrics will be emitted every 10 seconds.
You can change the interval via the custom parameter metrics_frequency.
For example, in order to send Graphite metrics to an endpoint every minute, you
would set the custom parameter metrics_frequency to 60 using the following command:
cf update-service my-instance -c '{ "metrics_frequency": 60 }'
Metrics Prefix
Depending on your graphite provider, you might need to prefix the metrics with
a certain value, like an API key for example. In this case you can leverage the
custom parameter metrics_prefix.
cf update-service my-instance -c '{ "metrics_prefix": "my-api-key-for-a-certain-provider" }'
The resulting metric path would have the format:
<metrics_prefix>.<service_guid>.<service_type>.<host>.<metric>
Metrics
These are all metrics provided by a9s LogMe2.
| Metric Id | type | Description |
|---|---|---|
metric_fetch_status | Integer (1 = true / 0 = false) | When the last metric update is successful the result is true. |
cluster_health.active_primary_shards | Integer | The number of active primary shards. documentation |
cluster_health.active_shards | Integer | The total number of active primary and replica shards. documentation |
cluster_health.active_shards_percent_as_number | Float | Percent of shards active documentation |
cluster_health.delayed_unassigned_shards | Integer | The number of shards whose allocation has been delayed by this timeout. documentation |
cluster_health.initializing_shards | Integer | The number of shards that are under initialization. documentation |
cluster_health.number_of_data_nodes | Integer | The number of nodes that are dedicated data nodes. documentation |
cluster_health.number_of_in_flight_fetch | Integer | The number of unfinished fetches. documentation |
cluster_health.number_of_nodes | Integer | The number of nodes within the cluster. documentation |
cluster_health.number_of_pending_tasks | Integer | The number of cluster-level changes that have not yet been executed. documentation |
cluster_health.relocating_shards | Integer | The number of shards that are under relocation. documentation |
cluster_health.status | Integer (0 = green / 1 = yellow / 2 = red / 3 = unknown) | Health status of the cluster, based on the state of its primary and replica shards. documentation |
cluster_health.task_max_waiting_in_queue_millis | Integer | The time expressed in milliseconds since the earliest initiated task is waiting for being performed. documentation |
cluster_health.timed_out | Integer (1 = true / 0 = false / 2 = unknown) | If false the response returned within the period of time that is specified by the timeout parameter (30s by default). documentation |
cluster_health.unassigned_shards | Integer | The number of shards that are not allocated documentation |
*.opensearch.*.*.*.*.metric_fetch_status
*.opensearch.*.*.*.*.cluster_health.active_primary_shards
*.opensearch.*.*.*.*.cluster_health.active_shards
*.opensearch.*.*.*.*.cluster_health.active_shards_percent_as_number
*.opensearch.*.*.*.*.cluster_health.delayed_unassigned_shards
*.opensearch.*.*.*.*.cluster_health.initializing_shards
*.opensearch.*.*.*.*.cluster_health.number_of_data_nodes
*.opensearch.*.*.*.*.cluster_health.number_of_in_flight_fetch
*.opensearch.*.*.*.*.cluster_health.number_of_nodes
*.opensearch.*.*.*.*.cluster_health.number_of_pending_tasks
*.opensearch.*.*.*.*.cluster_health.relocating_shards
*.opensearch.*.*.*.*.cluster_health.status
*.opensearch.*.*.*.*.cluster_health.task_max_waiting_in_queue_millis
*.opensearch.*.*.*.*.cluster_health.timed_out
*.opensearch.*.*.*.*.cluster_health.unassigned_shards
System Metrics
Aside from the metrics shown above, this Data Service also provides system metrics, common to all a9s Data Services. They can be seen in the Graphite metrics documentation.
Cloud Foundry Org and Space Guid
The Platform Operators can enable support on a global level to prefix the Graphite metrics with the CloudFoundry organization and space. This means that all metrics of all Service Instances (not only yours!) contain that information.
In this case the Graphite metric paths have the following format:
<organization_guid>.<space_guid>.<service_guid>.<service_type>.<host>.<metric>
When you enable in addition the metrics_prefix for your instance, you will
end up with the metric path format:
<metrics_prefix>.<organization_guid>.<space_guid>.<service_guid>.<service_type>.<host>.<metric>
Add a Syslog Endpoint
The cf update-service command used with the -c flag
can let you stream your syslog to a third-party service. In this case, the command expects a JSON string containing the
syslog key.
cf update-service my-logme2-service \
  -c '{ "syslog": ["logs4.your-syslog-endpoint.com:54321"]}'
If you use the syslog custom parameter on a LogMe2 Service Instance, it'll still receive the logs from it's bound
Cloud Foundry apps, but will forward the logs from OpenSearch and Fluentd to the third-party services specified in the
syslog custom parameter.
Custom Parameters
As an end user you have the opportunity to customize your Service Instance by using custom parameters.
Custom parameters are passed on to a Service Instance by using the -c switch of the cf CLI commands
cf create-service and cf update-service. For example
cf update-service my-instance -c '{"my_custom_parameter": "value"}'
would set the custom parameter named my_custom_parameter to the value value for the Service Instance my-instance.
You don't have to utilize those settings. There are sane defaults in place that fit your service plan well.
Every parameter corresponds to a property in the configuration file for the respective OpenSearch version.
Tuning
As usage of an a9s LogMe2 instance grows you may need to tune the OpenSearch component to meet demand.
The following custom parameters are available for tuning the used memory:
| Name | Description | Min | Max | Default |
|---|---|---|---|---|
java_heapspace | The amount of memory (in MB) allocated as heap by the JVM for OpenSearch | 256 | %50 of VM memory (check your plan details) | not set, 46% of available memory will be used |
java_maxmetaspace | The amount of memory (in MB) used by the JVM to store metadata for OpenSearch | 256 | 1024 | 512 |
Additionally there is a custom parameter available to set the used Garbage Collector:
| Name | Description | Default | Available Options |
|---|---|---|---|
java_garbage_collector | The JVM Garbage Collector to be used for OpenSearch. | UseG1GC | UseSerialGC, UseParallelGC, UseParallelOldGC, UseG1GC |
Data Retention
The Index State Management plugin is used to clean up old OpenSearch indices periodically. You can find more information
in the official documentation.
By default it deletes indices older than 30 days.
You can overwrite that configuration using the following custom parameters:
| Name | Description | Default |
|---|---|---|
ism_job_interval | Time between executions of the Index State Management in minutes | 5 |
ism_deletion_after | Combination of an integer and a timerange when an index will be considered "old" and can be deleted from OpenSearch. Possible values for the timerange are s, m, h and d | 30d |
ism_jitter | Jitter of the execution time (job_interval). Read more here | 0.6 |
For example:
cf create-service a9s-logme2 logme2-single-small my-logme2-service -c '{ "ism_deletion_after": "8h", "ism_job_interval": 60 }'
cf update-service my-logme2-service -c '{ "ism_jitter": 0.3 }'
When the ISM plugin configuration is set, it is saved in a dedicated OpenSearch index (.opendistro-ism-config). This
index will be included as part of all generated backups from there on out. This causes the following limitations
regarding the state of the configuration:
- Depending on the chosen backup, you may lose settings that were set on a later date, until a restart of the service
instance takes place.
- For example, if you change the value of the
ism_job_intervalparameter from 5 to 8 on 12.12.2022 but you restore your instance using a backup from 10.12.2022, then the value will not be 8 but 5; this change will hold up until you restart the Service Instance.
- For example, if you change the value of the
TLS
opensearch-tls-protocols
You can specify the allowed TLS protocols via the custom parameter opensearch_tls_protocols.
The custom parameter opensearch-tls-protocols correlates with OpenSearch's configuration
parameters plugins.security.ssl.http.enabled_protocols and plugins.security.ssl.transport.enabled_protocols, see
Limiting TLS Protocols Used by the Server.
An array with protocol versions is expected. Only Java format is supported.
The allowed protocol version values are TLSv1.3 and TLSv1.2.
opensearch-tls-ciphers
You can limit the TLS ciphers via the custom parameter opensearch_tls_ciphers.
The custom parameter opensearch_tls_ciphers correlates with OpenSearch's configuration
parameters plugins.security.ssl.http.enabled_ciphers and plugins.security.ssl.transport.enabled_ciphers,
see Configuring Cipher Suites.
An array with cipher names is expected. Only Java format is supported.
WARNING: There is no validation enabled for the user provided value and therefore existing instances can break when applying this parameter.
fluentd-udp
This property specifies the port for the UDP endpoint of Fluentd.
The default value is 514.
fluentd-tcp
This property specifies the port for the unencrypted TCP endpoint of Fluentd.
The default value is 0 (disabled).
The port of the UDP and unencrypted TCP endpoint can be the same, but do not have to be.
fluentd-tls
This property specifies the port for the encrypted TCP endpoint of Fluentd.
The default value is 6514.
fluentd-tls-ciphers
This property specifies the allowed TLS ciphers for Fluentd. See the Fluentd documentation for more information.
This property is only type checked and not fully validated!
The current validation only type checks for a string. Any misconfiguration will cause Fluentd to malfunction.
fluentd-tls-version
This property specifies the TLS version for Fluentd. See the Fluentd documentation for more information.
If you want to accept multiple TLS protocols, use fluentd-tls-min-version and fluentd-tls-max-version instead of fluentd-tls-version.
fluentd-tls-min-version
This property specifies the minimal TLS version for Fluentd. See the Fluentd documentation for more information.
If fluentd-tls-min-version is set, fluentd-tls-max-version must also be set.
fluentd-tls-max-version
This property specifies the maximal TLS version for Fluentd. See the Fluentd documentation for more information.
If fluentd-tls-max-version is set, fluentd-tls-min-version must also be set.
Groks
It is possible to define additional grok patterns, which will be matched against the message part of the syslog. As soon the first grok pattern will match, the next will not apply to it.
To clarify that statement a little further, assume we have the following syslog message:
<133>Feb 25 14:09:07 webserver syslogd: 123 additional-infomation 456
This syslog message is preprocessed by the Fluentd syslog input plugin. After that preprocessing it already has the structure:
{... syslog specific parts of the log ... "message" : "123 additional-infomation 456" }
The user defined additional groks are now matched against the value of the message field.
In the example above against "123 additional-infomation 456".
Assuming the following additional grok is defined:
"%{NUMBER:valueOne} %{WORD:someWord} %{NUMBER:valueTwo}"
The parsed result would be:
{
     //... syslog specific parts of the log ...
     "message": "123 additional-infomation 456",
     "valueOne": "123",
     "someWord": "additional-information",
     "valueOne": "456"
}
How to Add Additional Groks
Additional groks are applied as custom parameter {"groks":[/* List of additional groks */]}.
Example:
cf cs <service-type> <service-plan> <service-name> \
  -c '{ "groks": [{ "pattern": "%{WORD:Some} %{WORD:Grok} %{WORD:Pattern}" }]}'
Each pattern is a JavaScript object with the field "pattern".
| Field | Optional? | Type | Description |
|---|---|---|---|
pattern | mandatory | string | The grok pattern to match against |
A minimal additional grok could look like this:
{ "groks": [{ "pattern": "%{GREEDYDATA:data}" }] }
How to Remove Added Grok Patterns
If you want to remove all additional groks just apply the custom parameter with an empty array:
cf update-service <service-name> -c '{"groks": []}'
Backup and Restore Service Instances
a9s LogMe2 provides an easy way to create backups and restore if needed. For a more detailed description, please see the a9s Service Dashboard documentation.
Setup Disk Usage Alerts
Each service comes with the a9s Parachute. This component monitors ephemeral and persistent disk usage. See the a9s Parachute documentation how to configure the component.